
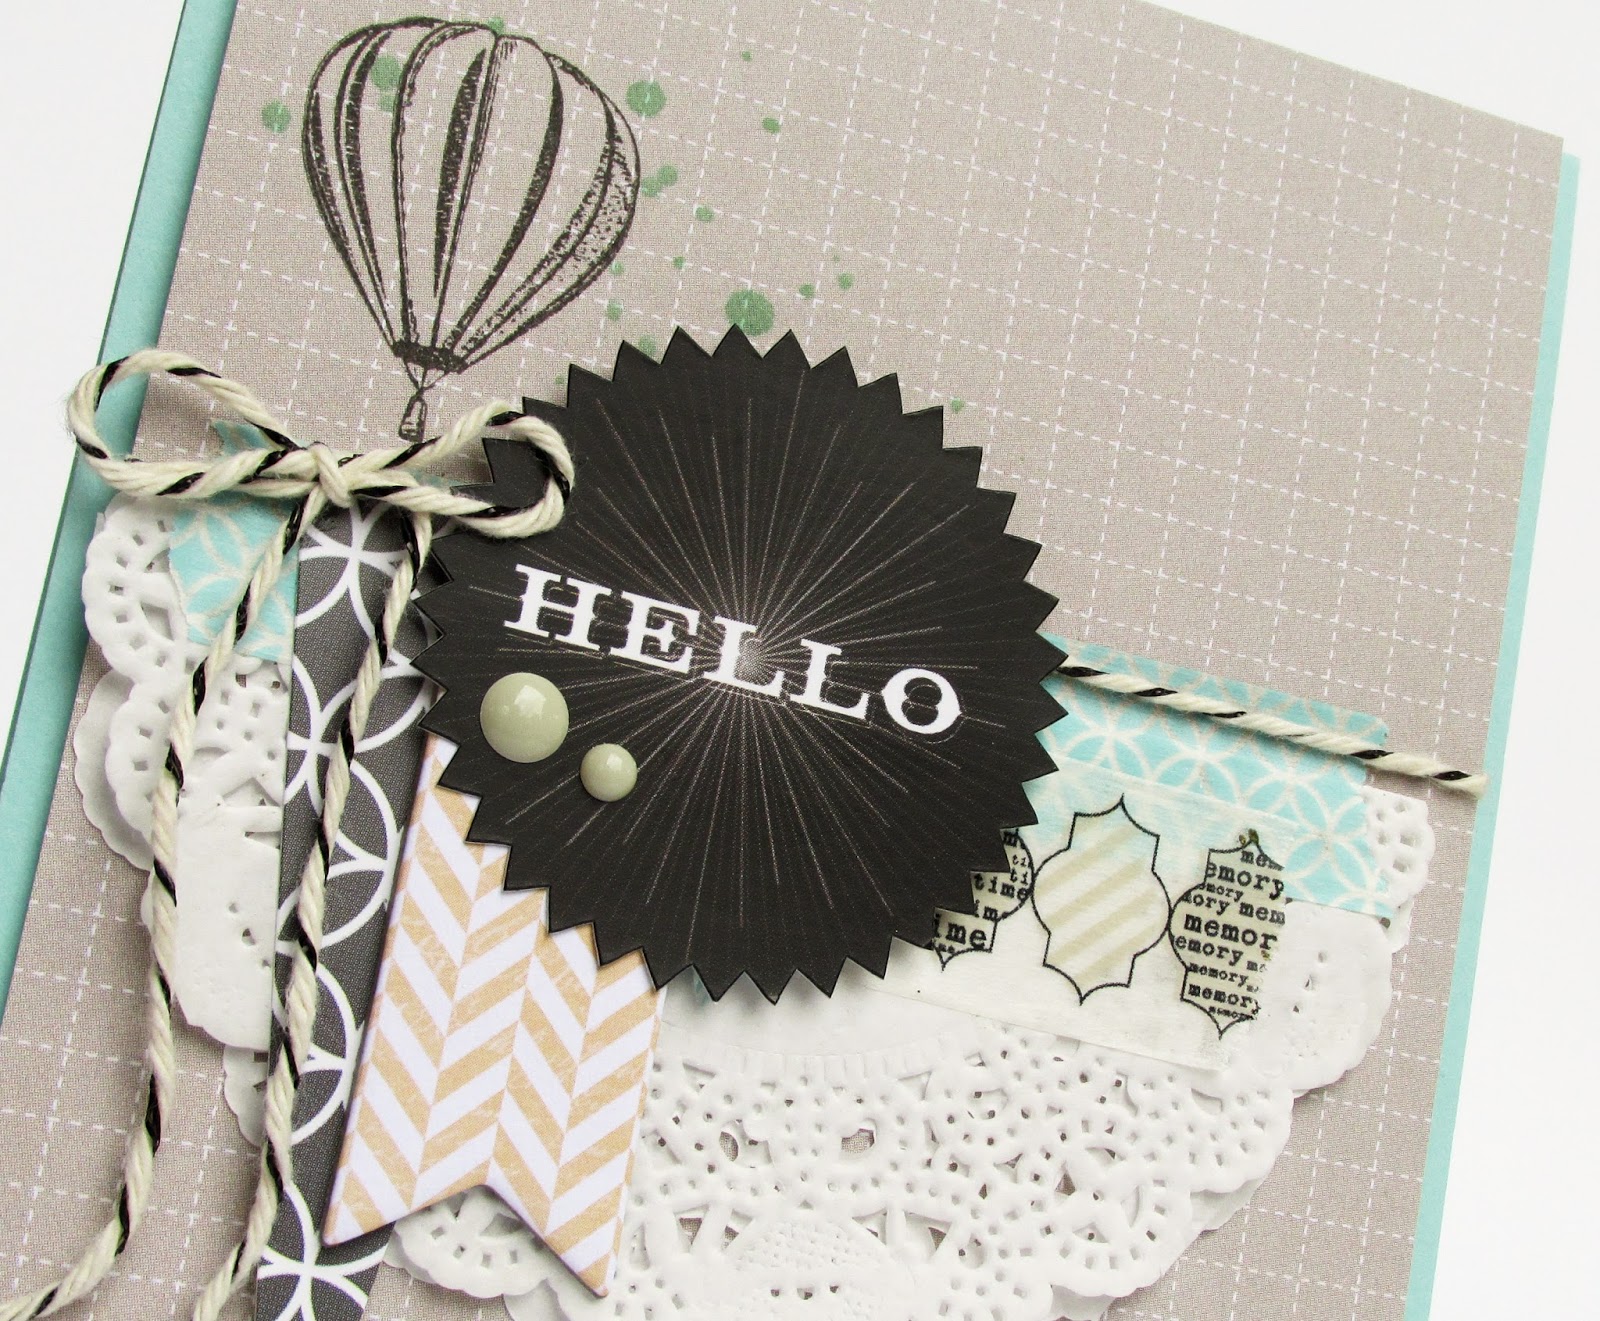
Collage style cards are my favorite! I love adding the layers and textures one at a time, building up into the look I'm going for. With this card, I started with a pale blue card base. Next, I cut a panel of the Document patterned paper and splattered it with mint colored mist. Once it was dry, I stamped the hot air balloon from the Memorabilia stamp set. Then I added my doily, folded in half and layered some Memorabilia washi tape over the seam. I wanted to add some banners next- I chose two, one from the Memorabilia sticker sheet and one from the chipboard elements. I added the twine next, tying it in a bow. My last layer was the cute sentiment from the Memorabilia sticker sheet. I added it to the card front with dimensional adhesive and embellished it with a couple of epoxy dots. I finished by adding the panel to my card base with dimensional foam adhesive.
Aren't the layers fun? :) After I finished my collage style card, I wanted to do something simple. The banners on the Recorded patterned paper inspired this one:

I cut a panel out of the Recorded patterned paper out so that the banners would run along the top of my card. I stamped the sentiment (Lots to Say set by Reverse Confetti) in the lower right hand corner using Versamark ink and then embossed it with white embossing powder. I flicked the panel with white mist and let it dry. Once it was dry, I lightly sponged white ink around the edges of the card front. Lastly, I embellished with the Memorabilia epoxy dots.

It's an easy to make card with a big impact I think!
After two cards, I was ready to create something a little different. I grabbed a clear pillow box from SRM Stickers to decorate- it's the perfect size for a gift card or a small treat:

I started this project with some found items. I tore a page out of an old book and wrapped it around the center of the pillow box. Next, I wrapped it with some dark gray yarn. I cut a heart out of the Quatrefoil patterned paper and added it to the center using dimensional adhesive. The sentiment banner came next- it's from the Memorabilia die-cut sheet. Lastly, I embellished it with some of the pretty Memorabilia sequins. I just love them!

I really enjoyed creating these projects! The smaller canvas of cards and goodie boxes is perfect- not too much space to fill and so fun to give away!
Thanks for joining me today!
Supplies Used:
Teresa Collins Designs: Memorabilia 12x12 papers, Memorabilia Sticker Accessory Sheet, Memorabilia Sequins, Memorabilia Chipboard Elements, Memorabilia Epoxy Dots, Memorabilia Decorative Tape, Memorabilia Die-cut SheetOther: Cardstock by Stampin' Up!; Twine by The Twinery; Sentiment stamp by Reverse Confetti; Clear pillow box by SRM Stickers; Doily by Stampin' Up!; Mists by Studio Calico and Dylusions
Fabulous cards and project! The first is my fave, love the soft subtle colors and the pop of bold with the chalkboard hello.
ReplyDeleteThese are so pretty! I am totally in love with that first one! All those doily layers make me happy!
ReplyDelete