Showing posts with label Hello My Name Is. Show all posts

Wednesday, April 30, 2014

Hello My Name Is Tag Cards

Hello There!  I have some fun cards over on the Teresa Collins Designs team blog today featuring some of my favorite products from the Hello My Name Is Collection- I thought I'd share them here, too!  I LOVE the Ephemera Tags that came with each collection this season- I thought it would be fun to do a series of cards using them as my focal points:
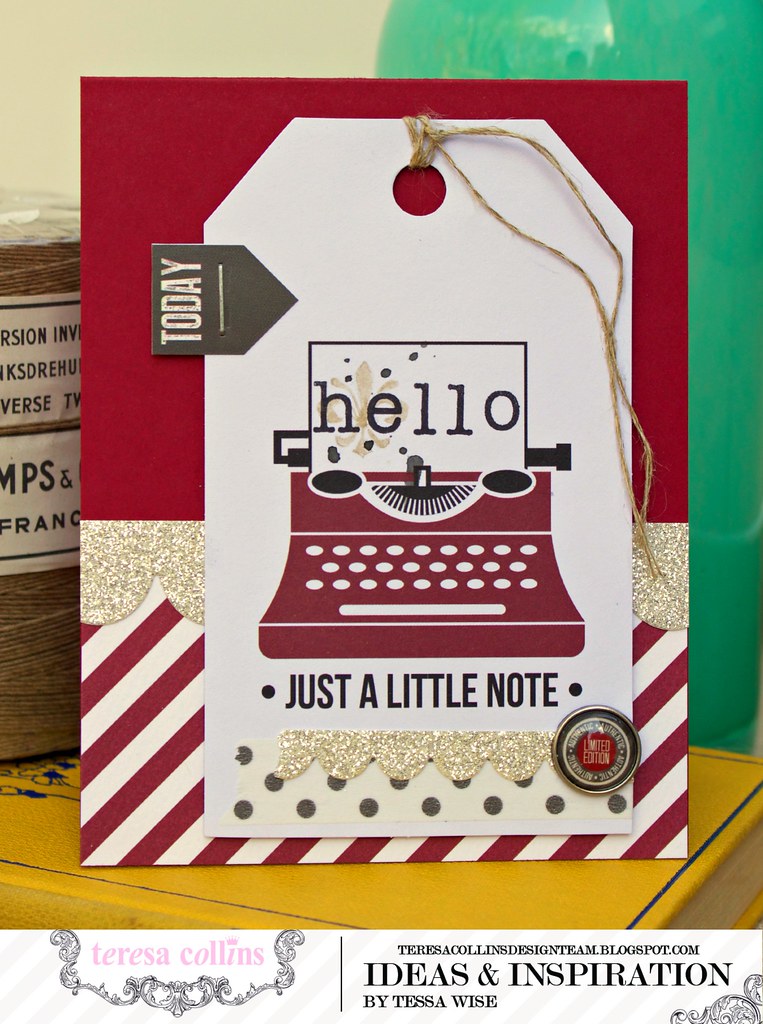
TERESA COLLINS DESIGN TEAM Typewriter Hello Card

This first card features the adorable typewriter tag from the Hello My Name Is Ephemera Tags pack.  It is so crisp and white, I knew I had to use a bold red card base.  I added a bit of the striped patterned paper (Lucky) to the bottom of the card base and then added a strip of silver glitter paper diecut into a scallop just over the top edge of it.  
To dress up the tag, I first pulled out my Hello My Name Is Clear Stamps.  I chose the fleur de lis stamp with tan ink and stamped it onto the typing paper.  Next I found some alphabet stamps from my stash and stamped out hello in black ink.  I splattered a little bit of dark gray mist in the same area and let it dry.  Along the bottom of the tag, I added a bit of the gray polka-dot washi from the Hello My Name Is Decorative Tapes and added a mini scallop strip diecut from some silver glitter paper.  I finished off this area of the tag with the limited edition brad from the Hello My Name Is Decorative Brads pack.  To finish off the tag, I added the today sticker from the Hello My Name Is Decorative Stickers sheet using the Teresa Collins Plier Stapler by Xyron.  I added a bit of linen thread to the top and and adhered the tag to the card front.
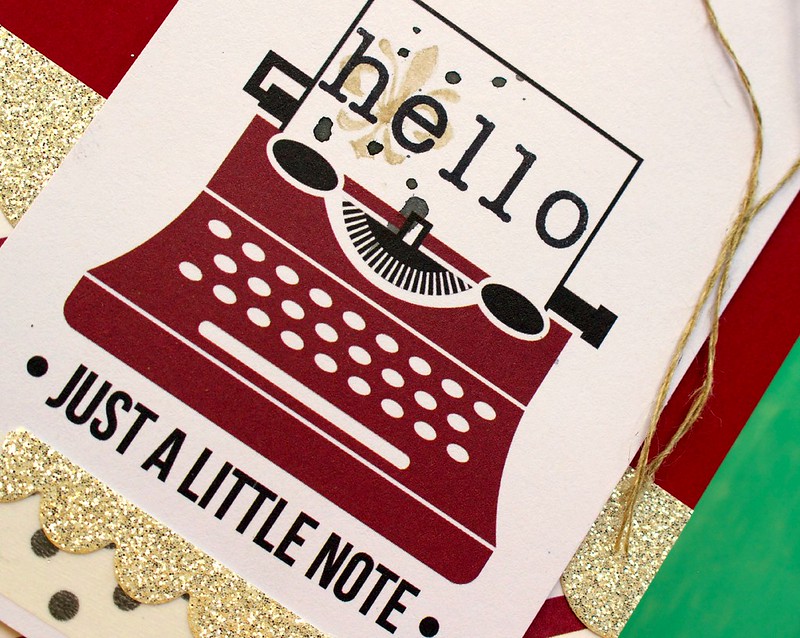
TERESA COLLINS DESIGN TEAM Typewriter Hello Card 2

This next card was a fun one!  I started with a light gray card base and ran it through my Teresa Collins eBosser using the dotted chevron embossing folder.  Then I pulled out this tag- it had a great kraft top and the bottom had a big white space- I knew I had to fill it up with some fun stamping!
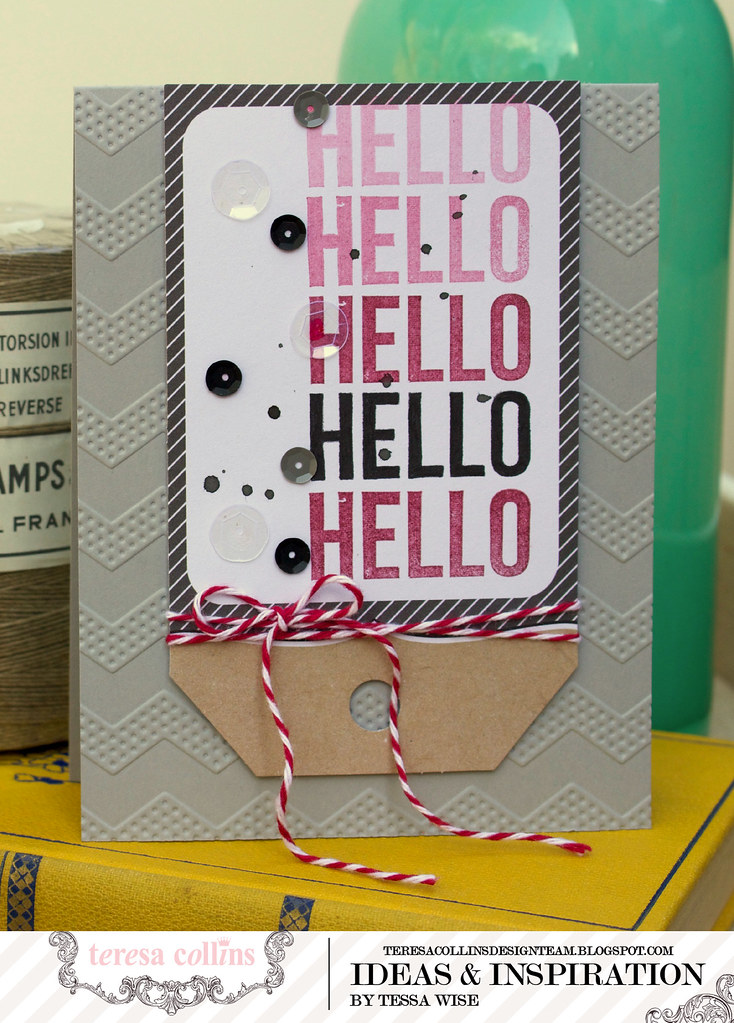
TERESA COLLINS DESIGN TEAM Hello Hello Card

This hello stamp is from the Hello My Name Is Clear Stamp set- I cut it apart from the rest of the stamp so I could use it as a sentiment.  To get this look, you'll need two inks.  I used a bold red and a black ink for my card.  First I stamped the hello with black ink leaving enough room for the image below.  I cleaned the stamp and then inked it up with the red ink.  I stamped it directly below the black image.  I inked up the stamp a second time and then stamped directly above the black image.  I stamped it a second and third time going up the tag without inking the stamp again.  This is called generational stamping.  The ink left over on the stamp creates a lighter image each time you stamp it.  It creates an ombre effect- fun right!!
After I was done stamping, I added a splatter of dark gray mist to the tag.  Next, I sprinkled a few sequins from the Hello My Name Is and Daily Stories collections up the left side of the tag.  Those clear sequins are great- I used my Teresa Collins Clear Hold Adhesive from Xyron to stick them down.  It works perfect for sequins :)  I tied a bit of twine just below the stamping and adhered it to my card.

TERESA COLLINS DESIGN TEAM Hello Hello Card 2

The next card has another cute tag on it- this one has a little label printed on it that I loved!  I knew a little embellishment cluster would look great there!  
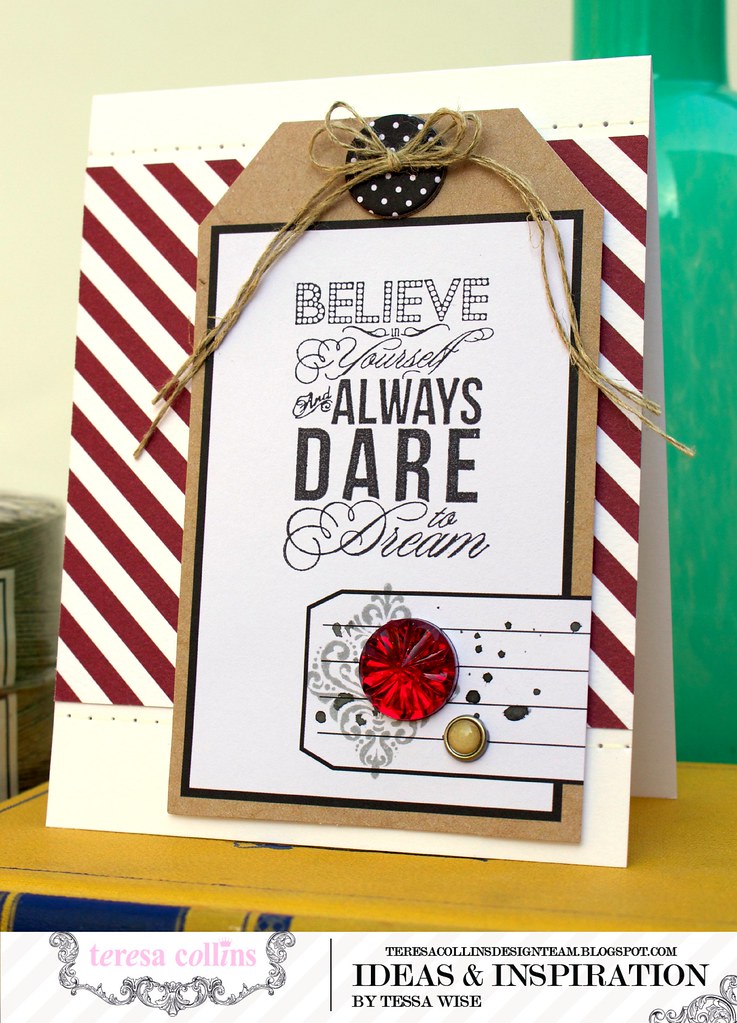
TERESA COLLINS DESIGN TEAM Dare To Dream Card

I started with a white card base for this one and added a large panel of the striped patterned paper (Lucky) to the center.  I added faux stitching along the top and bottom edges of the panel.  This beautiful focal point is another stamp from the Hello My Name Is Clear Stamps set.  It's my favorite!!  Such a pretty mix of fonts!  I stamped it into the white space of the tag using a crisp black ink.  Next I grabbed the pretty damask stamp and used it with light gray ink over the label.  I added a splatter of gray mist and embellished the space with a beautiful red gem from the Hello My Name Is Gems pack- the tag needed a big splash of red and this gem delivered!!  I added a small decorative brad to finish off the cluster.
Before I added this tag to my card front, I added the black and white chipboard button from the Hello My Name Is Decorative Buttons pack.  I added a bow of linen thread to the button and then adhered the tag down to my card front.
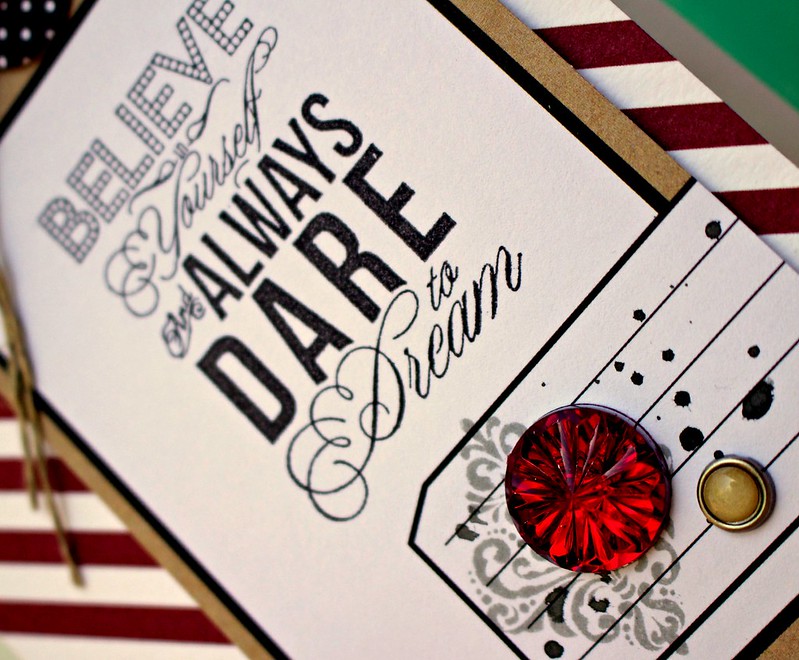
TERESA COLLINS DESIGN TEAM Dare To Dream Card C

Aren't Ephemera Tags a great product?  I was so excited when I saw that they were included in the new spring collections as well!  You get 20 in each pack and are so versatile- they are great!  I hope I've inspired you to try them out on a card or two! :)

Thanks for joining me today!
post signature

Wednesday, March 19, 2014

Hello My Name Is Cards

Hello!  Today is my day on the Teresa Collins Designs blog!  I thought I'd share my cards here, too!  These ones use the Hello My Name is collection from Teresa Collins Designs.  I love so many things about this collection- cute typewriters, the bold color combination, the versatility... I could go on and on!  Here is what I created with it:

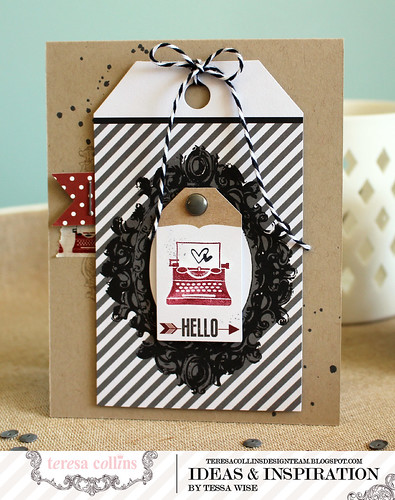
Typed Tag Card 

You can see one of my favorite elements of the collection on this card- the cute typewriters!  I used the stamp and also the decorative tape with typewriters on them- aren't they cute!!

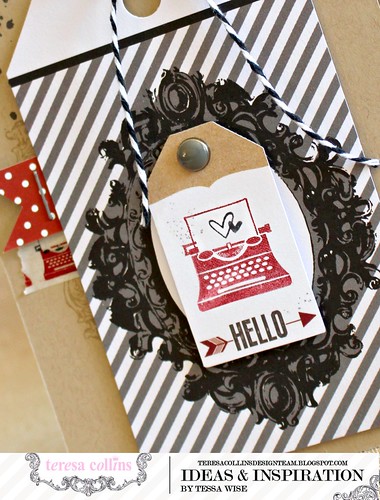
I used the bold striped tag with a frame from the Hello My Name Is Ephemera Tags pack for my focal point atop a kraft card base.  I added the smaller tag from the Hello My Name Is Decorative Brads pack to the center of the frame after I stamped the typewriter on it.  

Typed Tag Card 2 

Just a little peek of the decorative tape, a bit of red patterned paper, and tone on tone stamping accent the focal point perfectly.

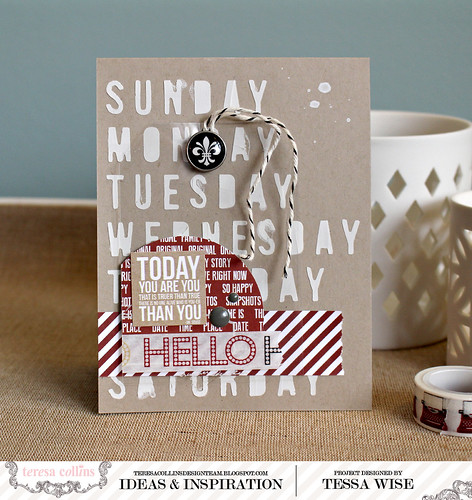
The next one uses the collection as more of an accent- I really wanted the stencilled background to be the focal point of this card:

Invisible Tag Card 2 

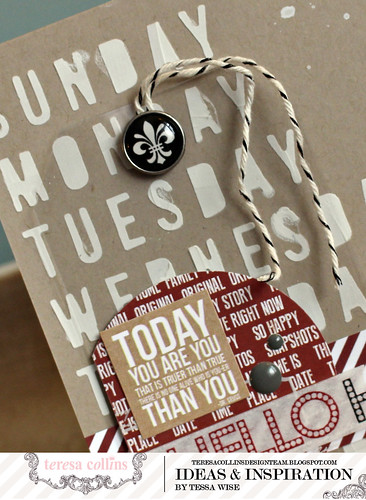
I started out with a kraft card base and used the Basically Essential modeling paste and stencil pack #2 to create the days of the week background.  I added a transparency is cut into a tag shape and embellished with patterned paper from the Hello My Name Is 6x6 pad, the hello decorative tape, and a sticker from the Decorative Sticker Sheet.  I accented the sticker with a couple of the Hello My Name Is epoxy dots as well.

Invisible Tag Card 4 

Adding the decorative brad and twine to the top of the tag lets you see the shape a little more.  In real life it's easier to see because it's shiny and reflects the light.

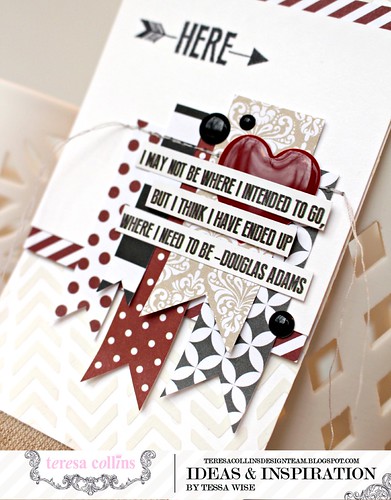
I have one more project to share today- a large tag.  This one was featured in this month's Scrapbook Generations online magazine, CREATE:

Here Tag 

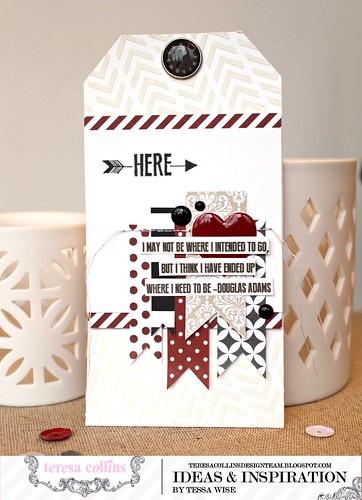
I was inspired by a sketch sent by Scrapbook Generations.  I created a white tag base and added modeling paste over the chevron patterned stencil from Basically Essential Stencil Pack #2.  The tags are all created from paper out of the Hello My Name is 6x6 pad. 

Here Tag 2

The quote is a sticker strip from the Hello My Name Is Decorative Sticker sheet that I  cut into smaller pieces.  I thought it worked well with the here stamp- isn't it great?

I really enjoy creating with the Hello My Name Is collection!  All the fun elements make card making so easy!  

Thanks for joining me today!
-tessa

Wednesday, January 8, 2014

Hello My Name Is Cards

Hi!  I have some cards featuring the new Hello My Name is collection by Teresa Collins Designs to share today!!  I love all the new releases but this was the one I couldn't wait to unwrap.  The bold colors, the words, the typewriters!!  I love it all!  Once I started, I didn't want to stop creating with this collection and today I have three cards to share:

Typewriter Hi Card 2

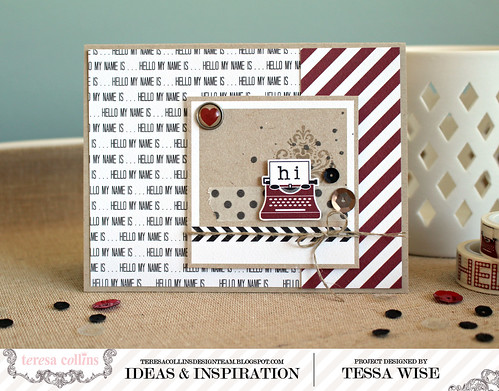
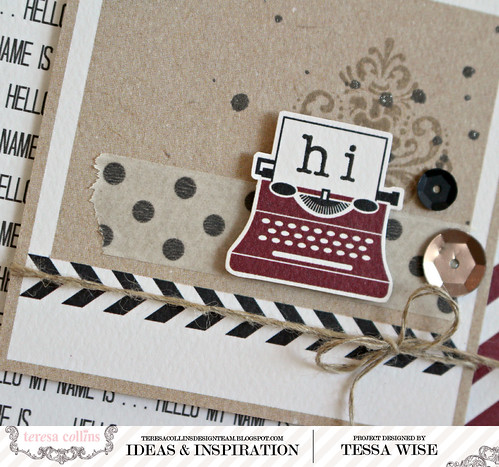
I used the 12x12 Hello My Name Is patterned papers for these cards.   The prints are great for cards- not too big!  I've added the names in parenthesis as I chat about them so you know where I found each piece.   The journaling cards also work well for cards- they make a great focal point.  I used one of the polaroid cards (Polaroids) for this one.  I stamped the damask image first with kraft colored ink and then splattered a bit of gray mist over it.  I added some of the polka-dotted washi tape next.  I cut out the typewriter (Noted) and stamped the 'hi' with some alphabet stamps I found in my stash.  I added it to the polaroid with a foam pop dot.  Lastly, I added some linen thread around it and finished off the look with a few sequins and a decorative brad.

Typewriter Hi Card 4

The typewriters are too cute!  I can't get enough of them and I'm SO glad they decided to include one in the stamp set!!  You'll see that in my next card:

Stamped Hello Card 1

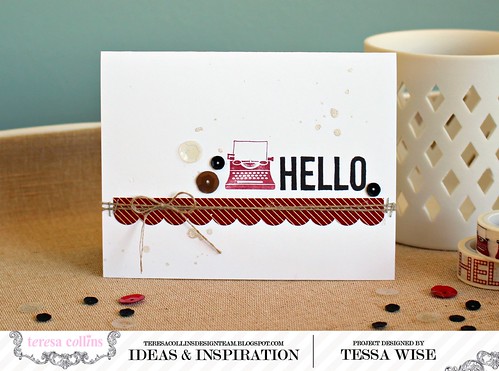
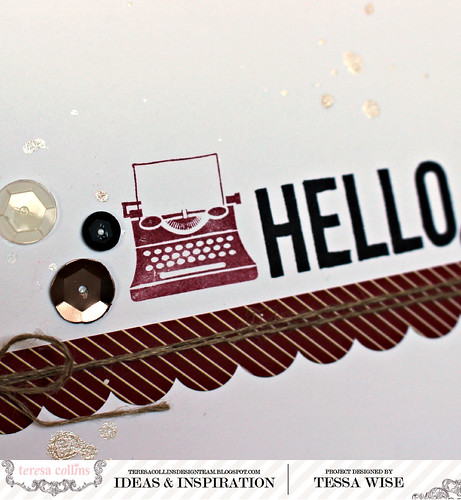
I wanted to create a clean looking card using the stamps so I started with a plain white card base.  I added the scalloped border sticker next.  To stamp the 'hello', I had to cut one of my stamps-  since it's clear, you can fit it back together on an acrylic block or use them separately.  You could just ink up the 'hello' part if you don't want to cut it, too!  Anyways, I stamped 'hello' with black ink next and then stamped the typewriter next to it in a dark red shade.  I decided to add a little sparkle to my simple card and splattered it with some pearly white mist.  I added some sequins to accent my stamping and then added the linen thread.

Stamped Hello Card 3

Isn't that typewriter stamp cute?  If you love typewriters like I do, you'll love this next one too- I used the adorable typewriter decorative tape on it!!

Live With Gratitude Card 3

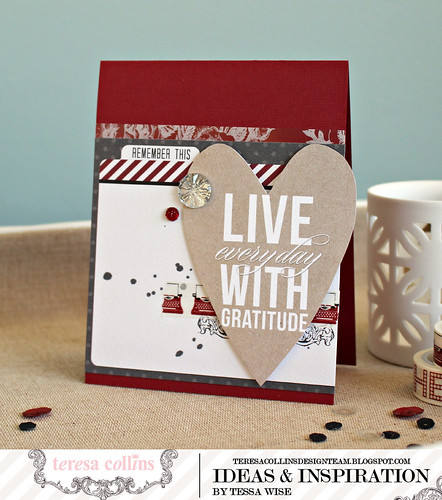
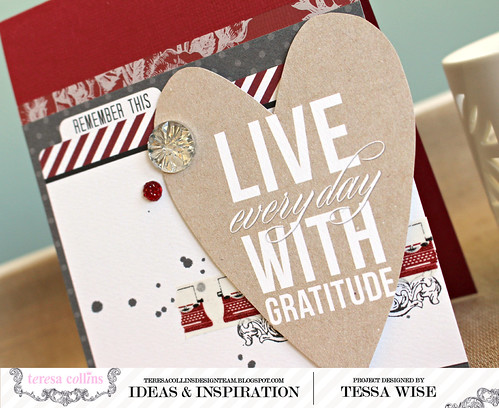
I used another journaling card (Love) as part of my background this time, cutting it to fit my card front.  I tucked a little strip of the floral photo overlay under the top portion.  I added the decorative tape next and then stamped the ornamental shell design in black just underneath.  I splattered a little gray mist next and then added my focal point.  I chose this journaling card (Record) and cut it into a heart shape.  I added it to my card front with foam pop dots and embellished it with two beautiful gems.

Live With Gratitude Card 2

It feels so good to start the year off with a few cards- one of my resolutions is to send at least one card each week of the year.  I'm so glad I could share them with you all!!

Thanks for joining me today!!

-tessa

Supplies Used:
Teresa Collins Designs: Hello My Name Is 12x12 papers,  Hello My Name Is Sequins, Hello My Name Is Gems, Hello My Name Is Decorative BradsHello My Name Is Clear Stamp SetHello My Name Is Photo OverlaysHello My Name Is Decorative Stickers

Other: Cardstock by Bazzill; Linen Thread by Stampin' Up!; Mists by Studio Calico; Red Ink- Cherry Cobbler by Stampin' Up!; Black Ink- Versafine Onyx Black by Tsukineko; Kraft Ink- Crumb Cake by Stampin' Up!
 
site design by designer blogs