Wednesday, April 30, 2014

Hello My Name Is Tag Cards

Hello There!  I have some fun cards over on the Teresa Collins Designs team blog today featuring some of my favorite products from the Hello My Name Is Collection- I thought I'd share them here, too!  I LOVE the Ephemera Tags that came with each collection this season- I thought it would be fun to do a series of cards using them as my focal points:
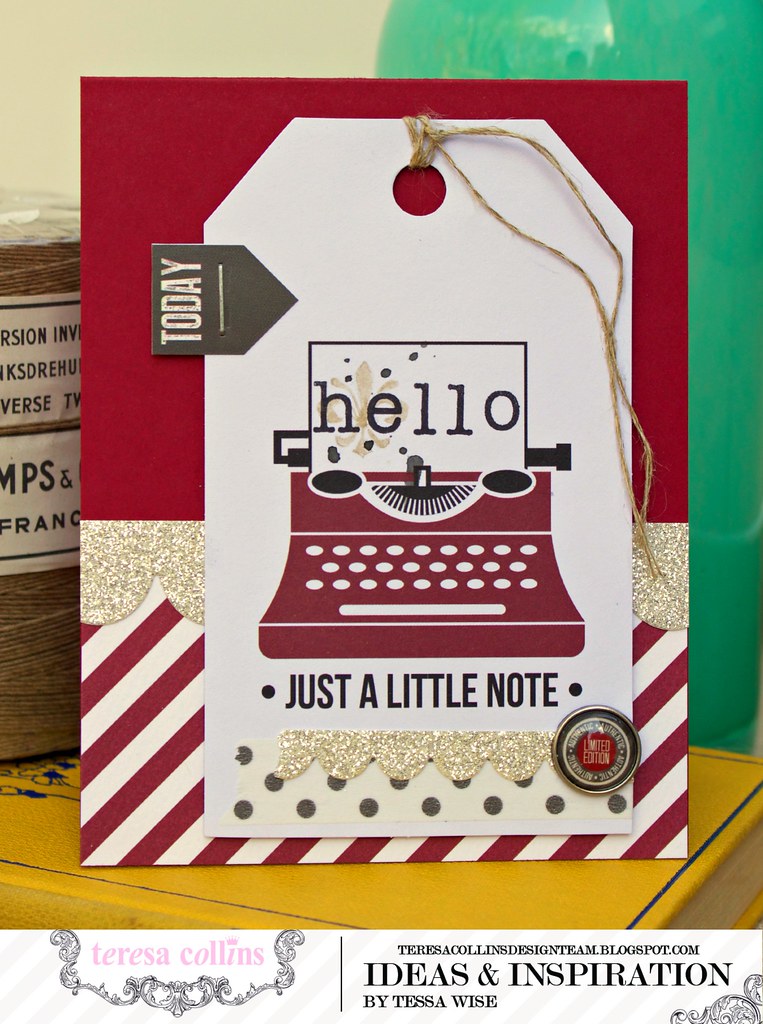
TERESA COLLINS DESIGN TEAM Typewriter Hello Card

This first card features the adorable typewriter tag from the Hello My Name Is Ephemera Tags pack.  It is so crisp and white, I knew I had to use a bold red card base.  I added a bit of the striped patterned paper (Lucky) to the bottom of the card base and then added a strip of silver glitter paper diecut into a scallop just over the top edge of it.  
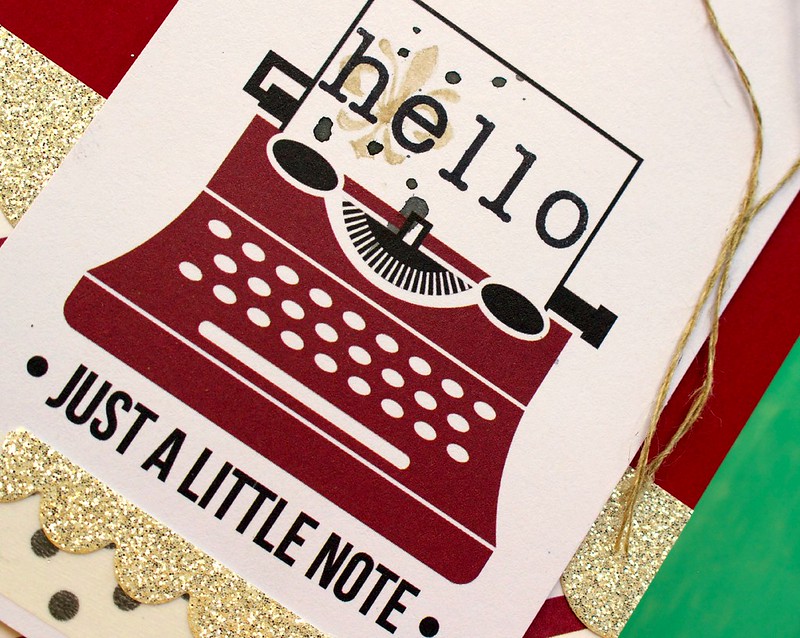
To dress up the tag, I first pulled out my Hello My Name Is Clear Stamps.  I chose the fleur de lis stamp with tan ink and stamped it onto the typing paper.  Next I found some alphabet stamps from my stash and stamped out hello in black ink.  I splattered a little bit of dark gray mist in the same area and let it dry.  Along the bottom of the tag, I added a bit of the gray polka-dot washi from the Hello My Name Is Decorative Tapes and added a mini scallop strip diecut from some silver glitter paper.  I finished off this area of the tag with the limited edition brad from the Hello My Name Is Decorative Brads pack.  To finish off the tag, I added the today sticker from the Hello My Name Is Decorative Stickers sheet using the Teresa Collins Plier Stapler by Xyron.  I added a bit of linen thread to the top and and adhered the tag to the card front.
TERESA COLLINS DESIGN TEAM Typewriter Hello Card 2

This next card was a fun one!  I started with a light gray card base and ran it through my Teresa Collins eBosser using the dotted chevron embossing folder.  Then I pulled out this tag- it had a great kraft top and the bottom had a big white space- I knew I had to fill it up with some fun stamping!
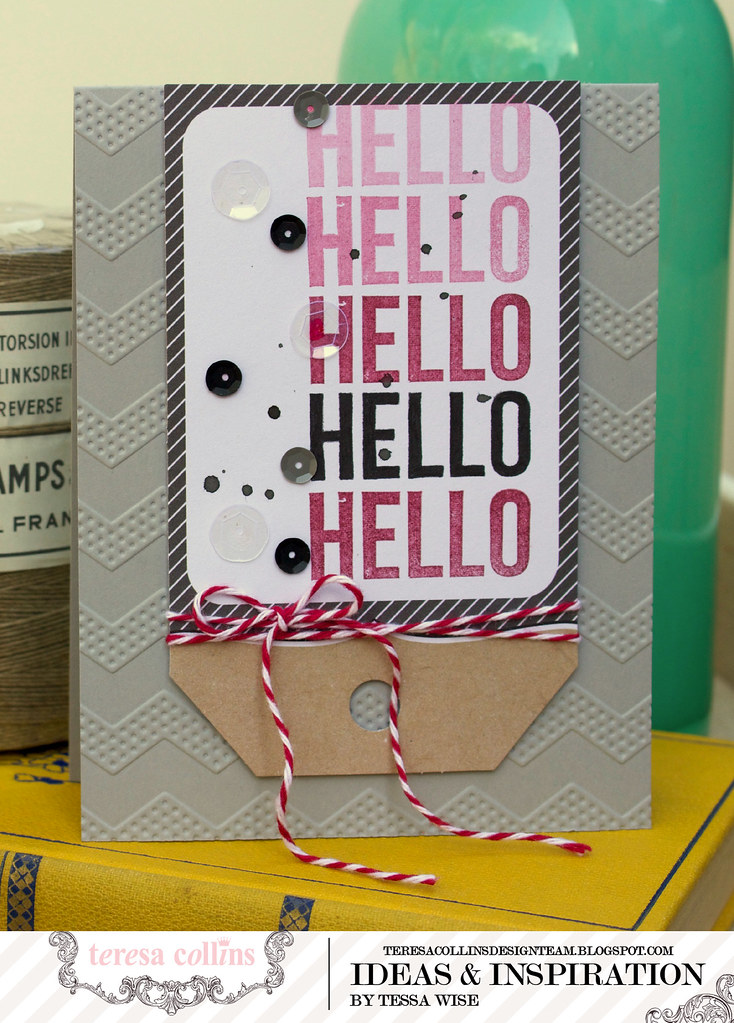
TERESA COLLINS DESIGN TEAM Hello Hello Card

This hello stamp is from the Hello My Name Is Clear Stamp set- I cut it apart from the rest of the stamp so I could use it as a sentiment.  To get this look, you'll need two inks.  I used a bold red and a black ink for my card.  First I stamped the hello with black ink leaving enough room for the image below.  I cleaned the stamp and then inked it up with the red ink.  I stamped it directly below the black image.  I inked up the stamp a second time and then stamped directly above the black image.  I stamped it a second and third time going up the tag without inking the stamp again.  This is called generational stamping.  The ink left over on the stamp creates a lighter image each time you stamp it.  It creates an ombre effect- fun right!!
After I was done stamping, I added a splatter of dark gray mist to the tag.  Next, I sprinkled a few sequins from the Hello My Name Is and Daily Stories collections up the left side of the tag.  Those clear sequins are great- I used my Teresa Collins Clear Hold Adhesive from Xyron to stick them down.  It works perfect for sequins :)  I tied a bit of twine just below the stamping and adhered it to my card.

TERESA COLLINS DESIGN TEAM Hello Hello Card 2

The next card has another cute tag on it- this one has a little label printed on it that I loved!  I knew a little embellishment cluster would look great there!  
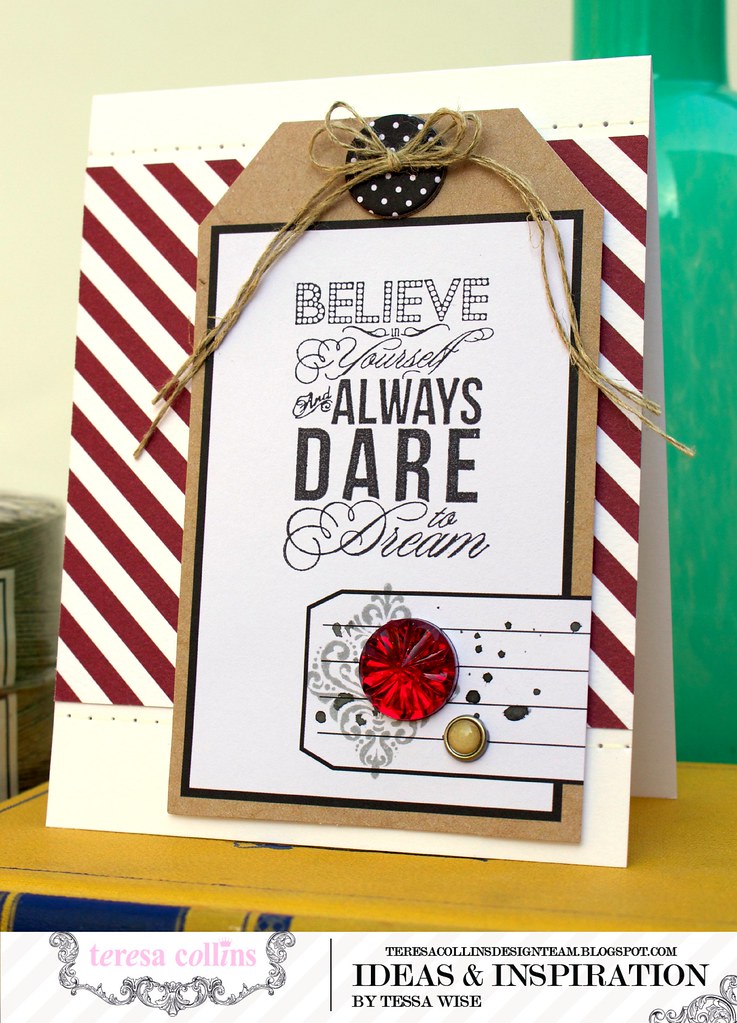
TERESA COLLINS DESIGN TEAM Dare To Dream Card

I started with a white card base for this one and added a large panel of the striped patterned paper (Lucky) to the center.  I added faux stitching along the top and bottom edges of the panel.  This beautiful focal point is another stamp from the Hello My Name Is Clear Stamps set.  It's my favorite!!  Such a pretty mix of fonts!  I stamped it into the white space of the tag using a crisp black ink.  Next I grabbed the pretty damask stamp and used it with light gray ink over the label.  I added a splatter of gray mist and embellished the space with a beautiful red gem from the Hello My Name Is Gems pack- the tag needed a big splash of red and this gem delivered!!  I added a small decorative brad to finish off the cluster.
Before I added this tag to my card front, I added the black and white chipboard button from the Hello My Name Is Decorative Buttons pack.  I added a bow of linen thread to the button and then adhered the tag down to my card front.
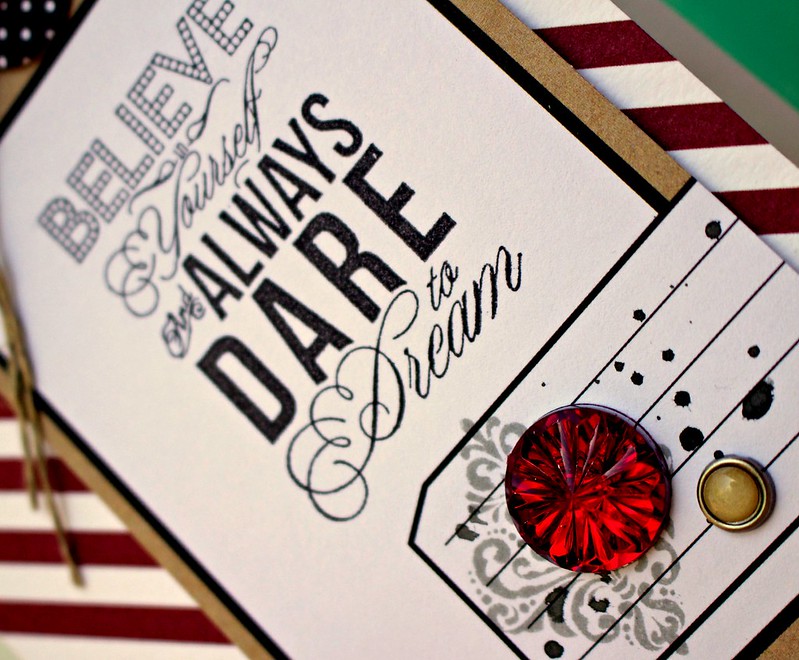
TERESA COLLINS DESIGN TEAM Dare To Dream Card C

Aren't Ephemera Tags a great product?  I was so excited when I saw that they were included in the new spring collections as well!  You get 20 in each pack and are so versatile- they are great!  I hope I've inspired you to try them out on a card or two! :)

Thanks for joining me today!
post signature

Friday, April 25, 2014

Roses for the Inky Paws Challenge!


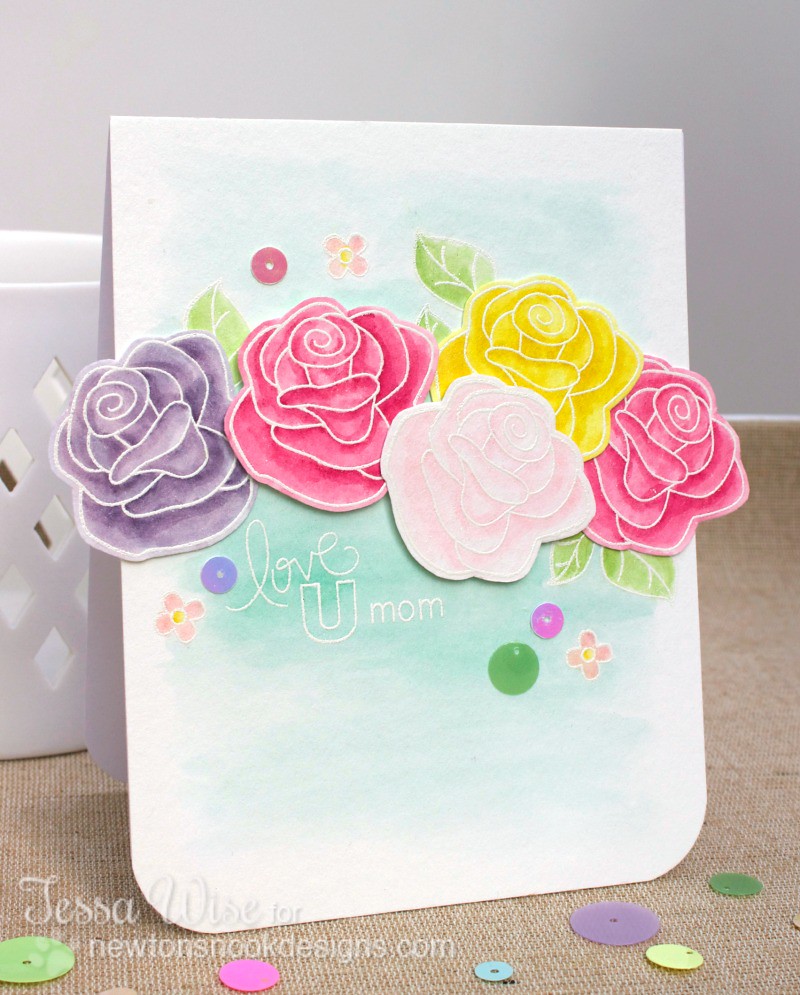
Good morning!  I'm popping in to share my card for this month's Inky Paws Challenge hosted by Newton's Nook Designs!  The are inspiring us with a pretty pastel color challenge this time around- I loved it!  Here is what I made:

NEWTON'S NOOK DESIGNS Roses For Mom Card

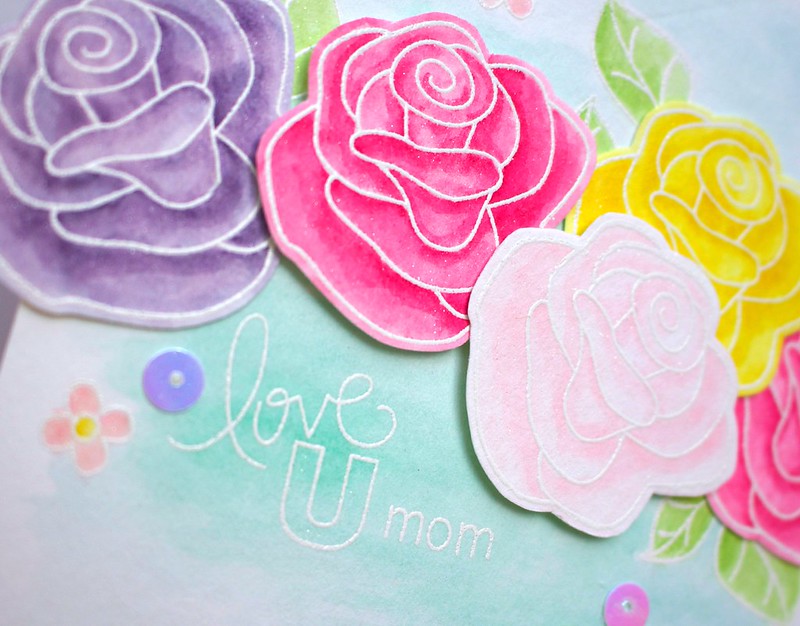
I used the new Love Grows set again- I can't get enough of these roses!  I stamped a bunch of them onto watercolor paper and embossed them using white powder.  Then I watercolored them using my Stampin' Up! markers.  I fussy cut around them once they were dry.
I built a card base out of white paper and cut a panel of watercolor paper to fit over the front.  I stamped a few leaves, the sentiment, and some of those cute little flowers onto the card front and again embossed them with white powder.  I watercolored them and then added the blue to the background.  It's so soft and pretty in real life!  I love it
I added the roses next, letting them hang off the edges of the card.  I used foam adhesive dots to pop up some of them, too!  To finish off the look, I added a few sparkly sequins.

NEWTON'S NOOK DESIGNS Roses For Mom Card 2

I had so much fun playing along with the Inky Paws Challenge this month!  Pop over to the Newton's Nook Designs blog to see what the rest of the team members created and to play along!  As always, they are giving away a gift card to the Newton's Nook Designs store to a lucky winner so give it a go! :)
post signature

Wednesday, April 23, 2014

Local Stampin' Up Classes in May

Hi there!  I am so excited to share a little peek at two classes I'll be teaching next month.  I'll be teaching at a Stampin' Up! crop my friend Keisha hosts every so often in Woodbridge, VA.  You can pop over to her blog for more details about the crop.  Now you are more then welcome to sign up for the whole day but if you'd just like to pop in for class, that works too!

Here are the details for my card class:

Kaliedascope Card Class Collage- Tessa Wise.jpg

Kaleidoscope Card Class
with Tessa Wise

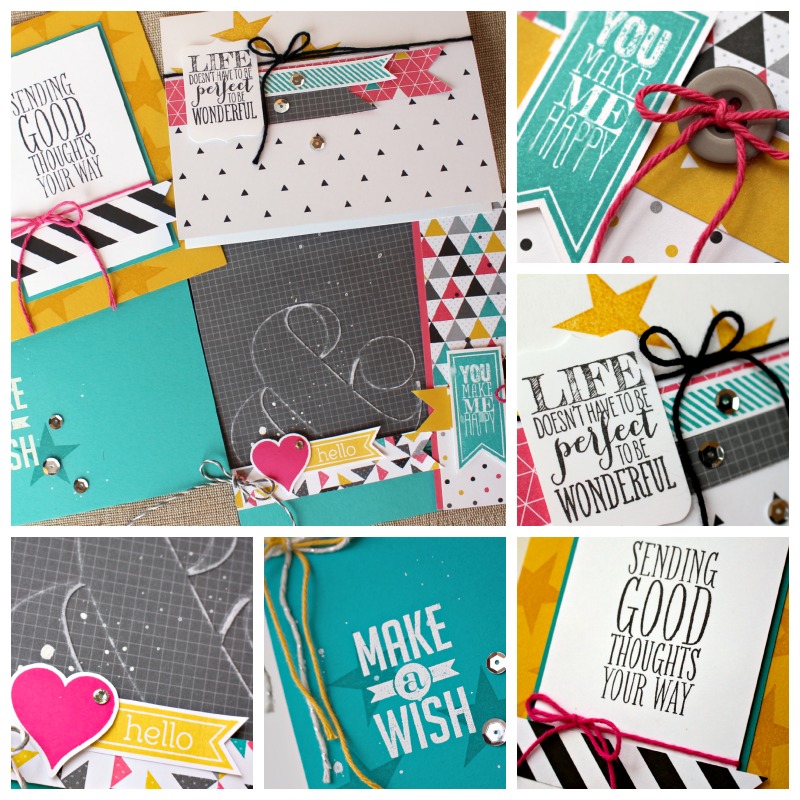
Join us in making 5 unique cards featuring product from the Stampin' Up! Celebrate the Everyday mini catalog.  The colors come from the Kaleidoscope DSP collection and the stamps are from the Perfect Pennants set.  We will be exploring fun techniques such as shadow stamping, dry embossing, misting and heat embossing.  It will be lots of fun!!
$20.00
May 17th, 2014
1:00 pm
Westridge Swim and Racquet Club, Woodbridge, VA

And here are the details for the scrapbook class:

Oh Happy Day Layout 2- Tessa Wise.jpg

Oh Happy Day Scrapbook Class
with Tessa Wise

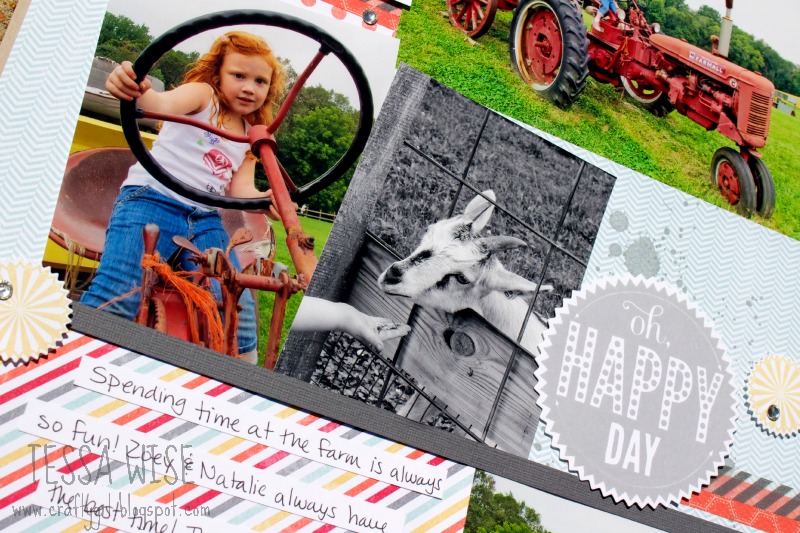
We will create a two-page layout that will hold 7+ photos!  There will be lots of stamping and a few diecuts for this one- it features the Starburst Sayings bundle from the Celebrate the Everyday mini catalog as well as the soon to be sold out I Am Me DSP collection.
$20.00
May 17th, 2014
4:00 pm
Westridge Swim and Racquet Club, Woodbridge, VA

As I said above, Keisha is hosting the crop and will also be taking payments.  She will have the Paypal link set up on her blog :)  Please let her know if you'd like your own set of stamps or extra paper added to your classes.

I'm really looking forward to these fun classes and cropping with my good friends!  I hope you'll be joining us!
post signature

Tuesday, April 22, 2014

A Borrowed and Blue Card

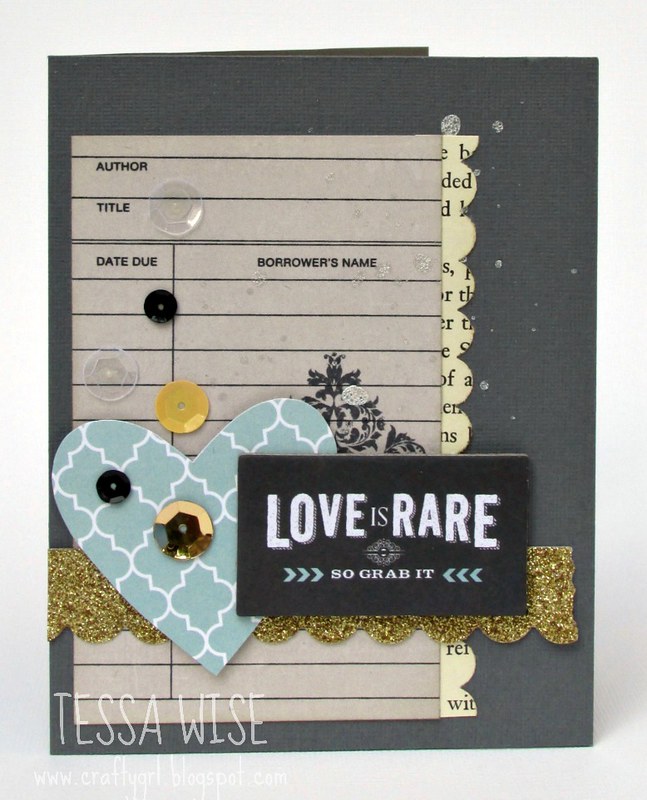
Love is Rare Card 1- Tessa Wise

Hello!  Today I'm sharing a fun card that was recently published in Paper Crafts and Scrapbooking Magazine!  After a long break, I started submitting again around Christmas time and it's so fun to see my work in the magazine!  This one was created for the Something Old, Something New, Something Borrowed, and Something Blue call- isn't that fun?
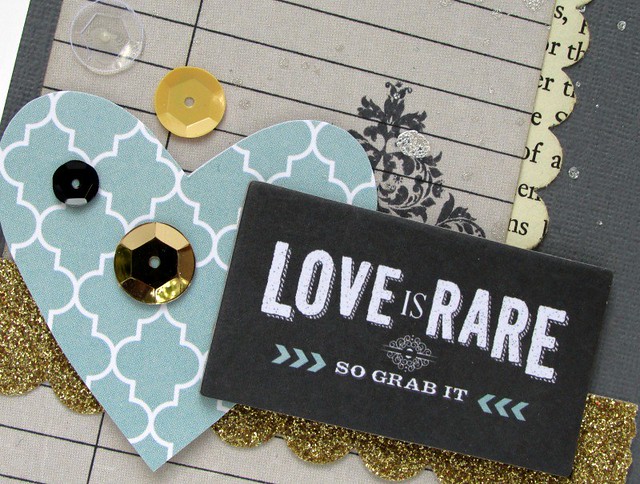
I loved coming up with bits and pieces from my collection to work with- I pulled out the Memorabilia collection by Teresa Collins Designs to start with and found almost everything within it.  I found the library card and knew it would be my borrowed piece!  For my blue, I cut a heart out of that pretty blue patterned paper.  And for my New, I added some shiny sequins and a bit of the gold scallop border strip.  My something old was the only thing that came from elsewhere- it's an old book page that I punched into a scallop.  I thought it went along with the library theme my card ended up having :)

Love Is Rare Card 2- Tessa Wise

I'm so glad I got to share it with you today!  If you subscribe, check it out on page 36 of the May 2014 issue of Paper Crafts and Scrapbooks Magazine- you'll see a little shout out from Susan Opal in the From the Editors column, too!!
post signature

Monday, April 21, 2014

Stop And Go Blog Hop!


I'm so excited to be hopping along with the Stop and Go Blog Hop today!  My friend Miriam designed this fun stamp set for Neat and Tangled Stamps- she is so creative and I love her concept!  Her stoplight is perfect for so many reasons and I love the sentiments she came up with to go along with it!  

If you haven't come from Taheerah's blog, be sure to pop over and check out what she created.  You can also start at the beginning of the hop and pop over to the Neat and Tangled blog to see what Danielle made.  While you're here though, you might as well look at my card :)
 Stop And Go Hop Card- Tessa Wise

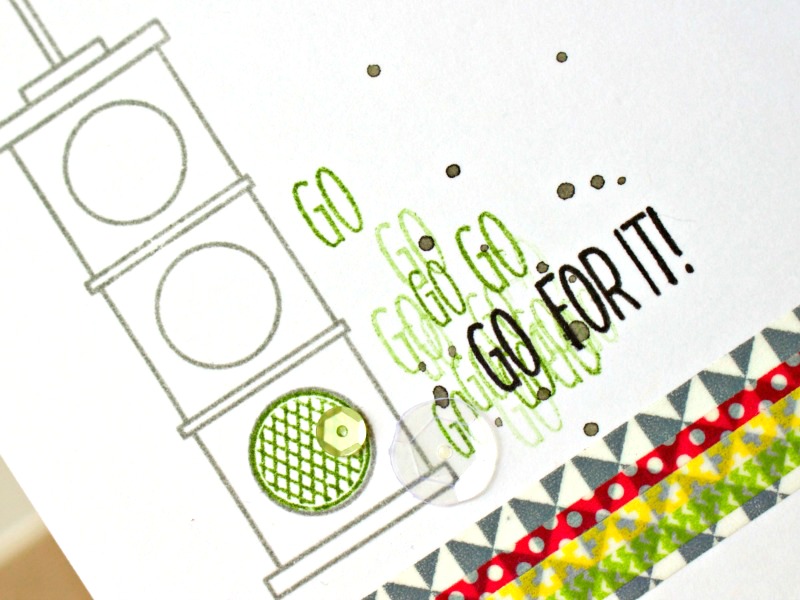
I decided to make a collagy sort of card- embellishing the stoplight with a few sequins and some washi tape.  There are two sizes of GO stamps so I used both with green ink to add some color and emphasis to the sentiment.

Stop and Go Hop Card 2- Tessa Wise

I had a lot of fun working with this one!  If you haven't hopped through the list of participants yet, be sure to make time to!  It's a very inspiring group and they've made the cutest cards with the Stop And Go set:

Tessa (that's me)

Don't forget to leave a comment- Danielle and Miriam will both be offering up a free Stop and Go set, one from the Neat and Tangled blog comments and one from the participant's blog comments.  Comments will close April 26th, and the winners will be posted on April 28th.

Thanks for stopping by today and have fun hopping!!
post signature

Thursday, April 17, 2014

Newton's Nook Designs April Release- Wild Child

Good morning!  I'm back with one more card for Newton's Nook Designs April Release!  Today's set is my favorite of the release- it's called Wild Child and features the cutest little baby animals and their mamas!  Here is what I created with it:

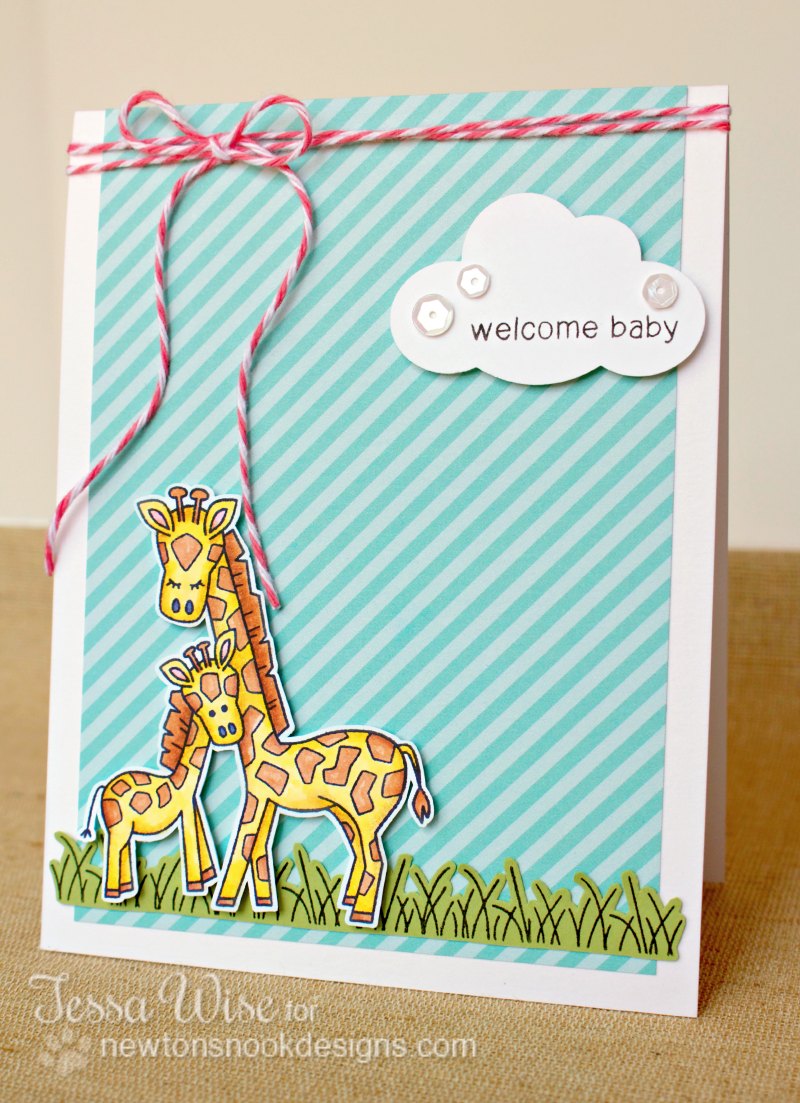
Newton's Nook Designs Welcome Baby Card 1- Tessa Wise

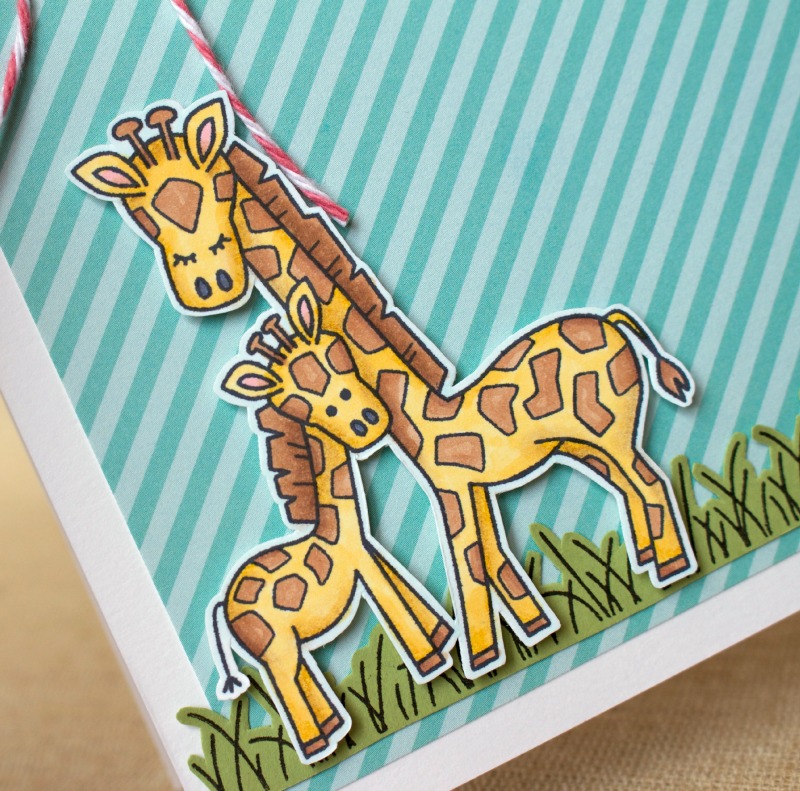
I just love the giraffes!  I smile each time I see them!  I stamped them on to white cardstock with Memento ink and colored them in with my Copic markers.  After I was done, I fussy cut around them.  I also stamped the grass out on to a soft green cardstock and cut around it as well.  
Once the cutting was done, I put together my card.  I started with a white card base, adding a panel of the aqua striped paper to the center.  I added the grass next along the bottom of the blue panel.  The giraffes went down next- I used foam adhesive to pop them up.  I stamped the sentiment onto a cloud punched out of white card stock.  I added it to the card with foam adhesive as well.  A few sequins and a bit of pink twine was added to finish off the look.

Newton's Nook Designs Welcome Baby Card 2- Tessa

Would you like to win Wild Child?
This set will be given away to Two lucky winners


Here's how to win: 

Comment on the NND blog and Design Team and Guest blogs (see list below)! Two winners will be chosen at random from the collective blogs release posts. Make sure to check out each of their blogs and comment for your chance to win. You will not know which blog has been chosen so the more you comment on the better your chances are of winning! You have until Thursday, April 17th at 9 pm Central Standard Time to comment  -- winners will be announced on the blog post on Friday, April 18th
We are also having a giveaway this week on our Facebook Page so make sure to head over there to enter that too! 
Check out all these awesome Design Team and Guest Blogs below to enter:

Jamie Greene  - Guest Designer
Elena Joldersma - Guest Designer

The team really made some cute cards with this one, didn't they?  I hope you have time to pop through all of their blogs- you'll be happy you did! :)

Thanks for popping by my blog today, too!
post signature

Wednesday, April 16, 2014

Newton's Nook Designs April Release- Versatile Vases

Good morning!  I'm back with a card inspired by another lovely stamp set from Newton's Nook Designs April release.  Versatile Vases is a great set- there are so many things you can do with it!  Here is what I made:

Newton's Nook Hello Card 1- Tessa Wise

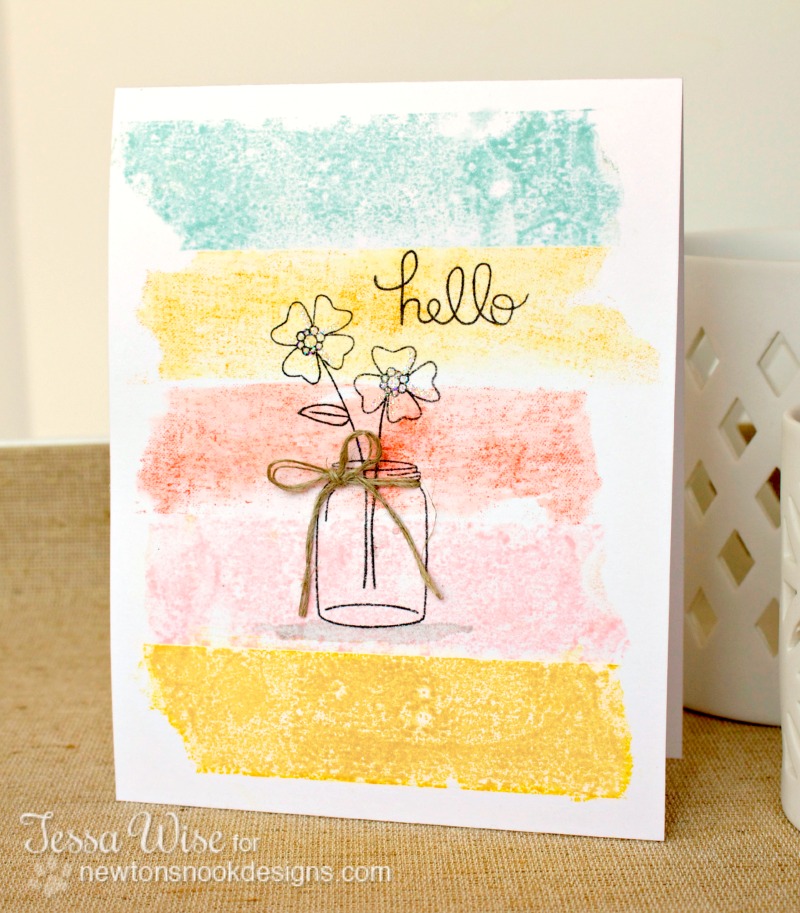
Have you heard of the masking tape technique?  I saw it while perusing the internet the other day and wanted to try it ever since!  It reminded me of sea glass in a way- all mottled and imperfect.  I thought it would make a perfect background for Versatile Vases.

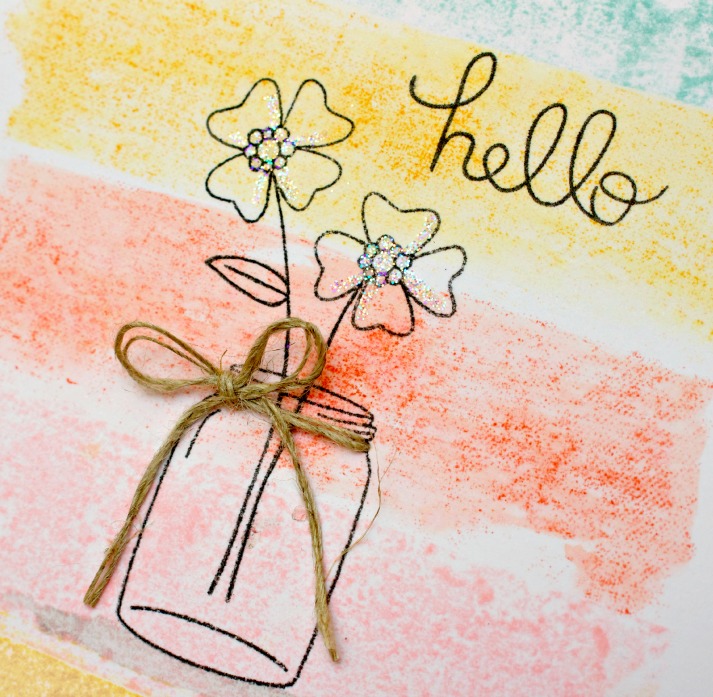
I used a few lighter Stampin' Up! inks to get this look.  The newer foam pads come out a lot more colorful than the older felt ones, just so you know :)  Once my background was dry, I started stamping.  I started with the mason jar, then added the blossoms and finished with the sentiment.  This look didn't take long at all!  I embellished it with just a bit of glitter on the flowers and a small piece of linen thread tied around the jar.

Newton's Nook Designs Hello Card 2- Tessa Wise


Would you like to win Versatile Vases?
This set will be given away to Two lucky winners


Here's how to win: 

Comment on the NND blog and Design Team and Guest blogs (see list below)! Two winners will be chosen at random from the collective blogs release posts. Make sure to check out each of their blogs and comment for your chance to win. You will not know which blog has been chosen so the more you comment on the better your chances are of winning! You have until Thursday, April 17th at 9 pm Central Standard Time to comment  -- winners will be announced on the blog post on Friday, April 18th
We are also having a giveaway this week on our Facebook Page so make sure to head over there to enter that too! 
Check out all these awesome Design Team and Guest Blogs below to enter:

Jamie Greene  - Guest Designer
Elena Joldersma - Guest Designer

I hope you have a chance to visit everyone on the team- including the guest designers!  Such a talented group! :)  They really did a great job with this adorable set!

Thanks for visiting me today, too!
post signature

Tuesday, April 15, 2014

Newton's Nook Designs April Release- Love Grows

Hi!  It's time for another Newton's Nook Designs release!  This one is super cute- I love the sets this month!  Today we are showcasing the Love Grows set- it's a mini set full of beautiful roses and pretty Mother's Day sentiments.  Here is what I made:

Newton's Nook Designs Mother's Day Card 1- Tessa Wise

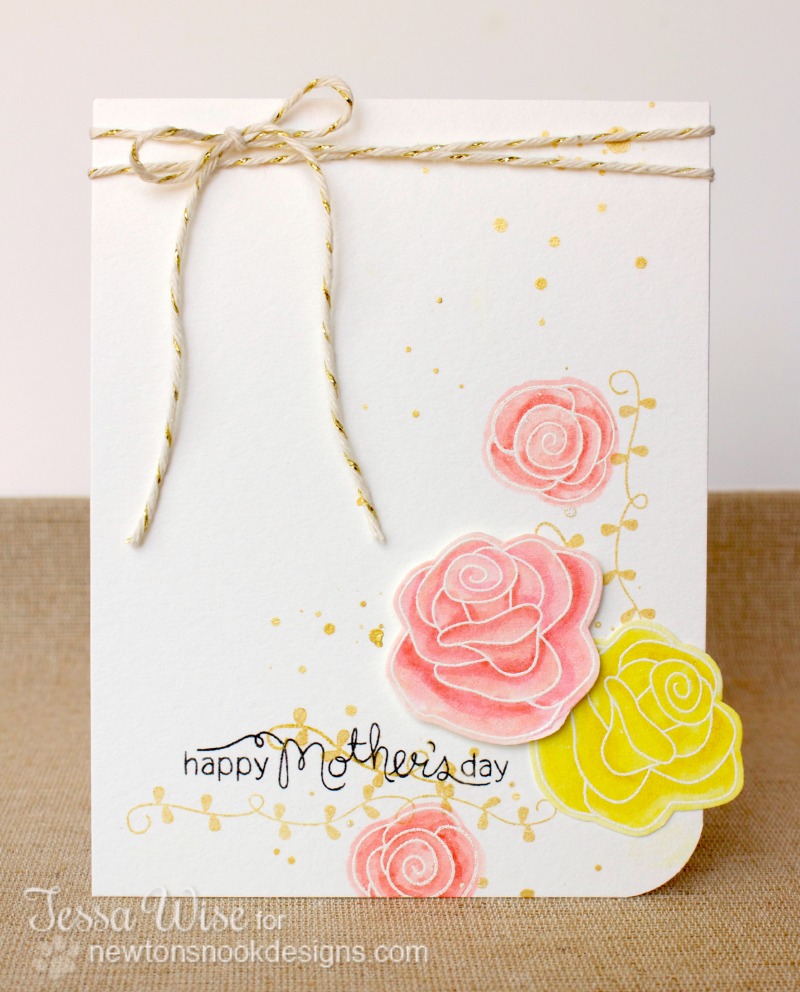
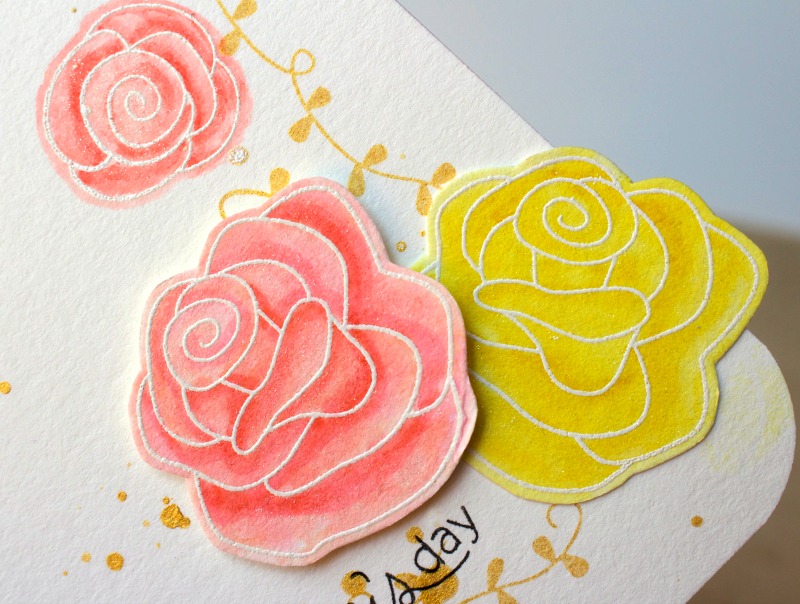
The line drawn roses were just begging me to watercolor them!  Hee!  I stamped the larger roses onto watercolor paper with Versamark and embossed them with white powder.  I used my Distress markers to color them in a little and then blended with my aqua pen.  I had so much fun painting them!  Once they were dry, I fussy cut around them.

While my roses were drying, I created my card base.  I used watercolor paper as my base and rounded the bottom right corner.  I stamped the vines with gold Delacata ink and added a couple of embossed small roses as well.  I watercolored the small roses in the same way I had the large.  Next I added a splattering of gold mist.

Once everything was dry, I added the large roses to the corner and stamped the sentiment in black Versafine ink.  This one was so fun!

Newton's Nook Designs Mother's Day Card 2- Tessa Wise

Would you like to win Love Grows?  
This set will be given away to Two lucky winners

Here's how to win: 

Comment on the NND blog and Design Team and Guest blogs (see list below)! Two winners will be chosen at random from the collective blogs release posts. Make sure to check out each of their blogs and comment for your chance to win. You will not know which blog has been chosen so the more you comment on the better your chances are of winning! You have until Thursday, April 17th at 9 pm Central Standard Time to comment  -- winners will be announced on the blog post on Friday, April 18th
We are also having a giveaway this week on our Facebook Page so make sure to head over there to enter that too! 

Check out all these awesome Design Team and Guest Blogs below to enter:

Jamie Greene  - Guest Designer
Elena Joldersma - Guest Designer

I hope you have time to pop through everyone's blog!  Todays cards are beautiful!!
post signature

Thursday, April 10, 2014

You Are My Happy Card

You Are My Happy Card- Tessa Wise

Hello!  I thought I'd share a fun card I made recently- yes, another embossed card!  Hee!  I've been using my TC Ebosser like crazy lately!  This card features the new Teresa Collins Beautiful Words folder and I've used it on a diagonal here.  I really love using it this way- it might even be my favorite eBosser technique!

The embossing turned out so nice I wanted it to be the star of this card.  I kept the embellishments simple, using a few bits and pieces from the Teresa Collins You Are My Happy Collection.  A little bit of twine from the Twinery finished off the look perfectly.

Well, I'm going to keep this short- I have a bunch of stuff to get done today and better get started before the day gets away from me!  Thanks for stopping by!
post signature

Wednesday, April 9, 2014

Happy Easter Card

Happy Easter Card 1

Hi there!  How's your day going?  Mine is pretty slow...  I have a pile of laundry to fold but that's about it until the girls get home from school!  I thought I'd kill a few minutes and pop on here to share a card.

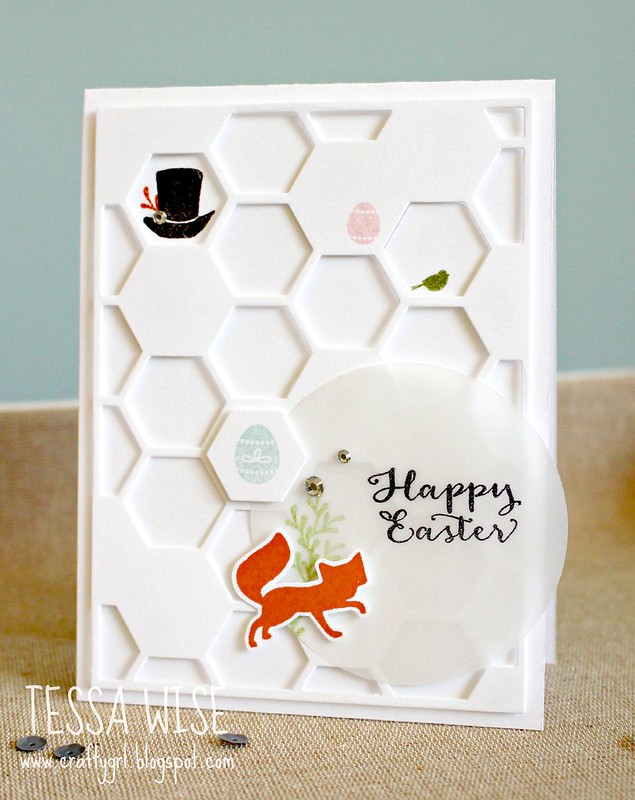
My friend Donna is part of the fun new Craft Hoarders Anonymous challenge blog and I thought I'd play along with them this week.  The challenge was to use stamps!  :)  Hee!  Not hard for me- I'm definitely a stamp hoarder!  This cute set by Avery Elle has been in my stash since January or February so it's nice to get it inked up finally!  I also used another hoarded item- this hexagon die by Stampin' Up!

This card also fits in with today's Simon Says Stamps Wednesday challenge so I'm going to link up there, too! :)

I wanted a clean and simple look so I stuck with white cardstock.  I stamped little images inside some of the hexagons.  The sentiment and some vines are stamped on a vellum circle- I layered my fox right over it, creating a focal point cluster.  I love that cute fox!

Well, I hope you enjoy the rest of your day!  Thanks for stopping by my blog! :)
post signature

Tuesday, April 8, 2014

Celebrate Love Card

Celebrate Love Card 1

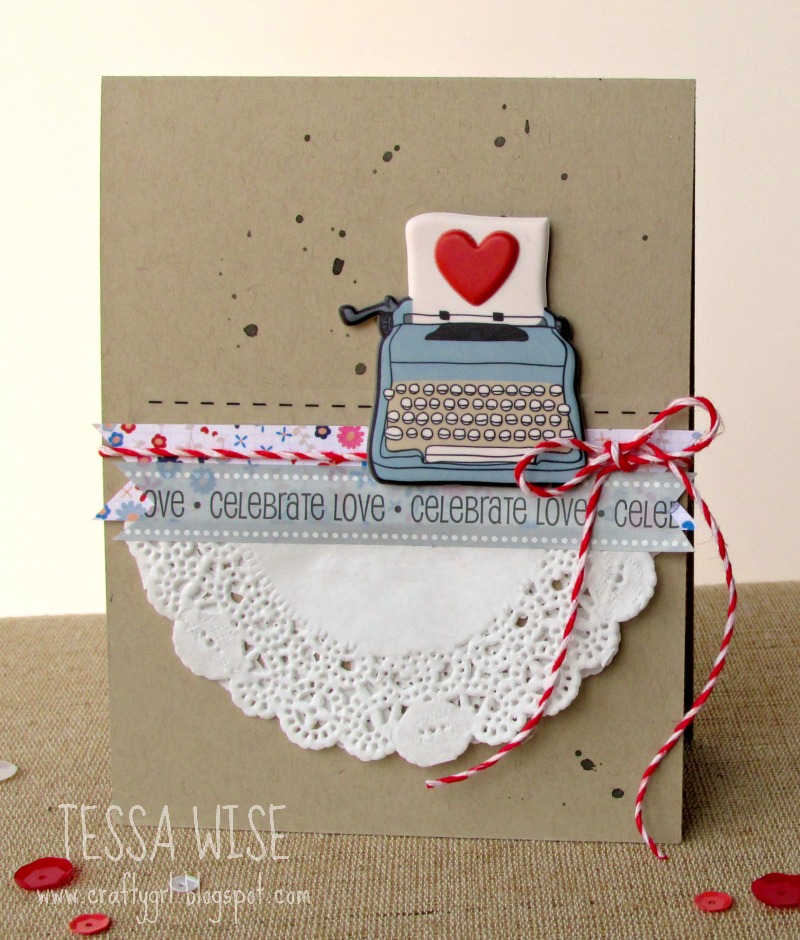
Hello There!  I had a little time yesterday to play along with the brand new SRM Stickers Challenge- their first post went live last week!  The challenge was to create a card for a celebration.  I needed a card for an anniversary (a great reason to celebrate!)  and pulled out my We've Got Your Border Wedding stickers to play with.

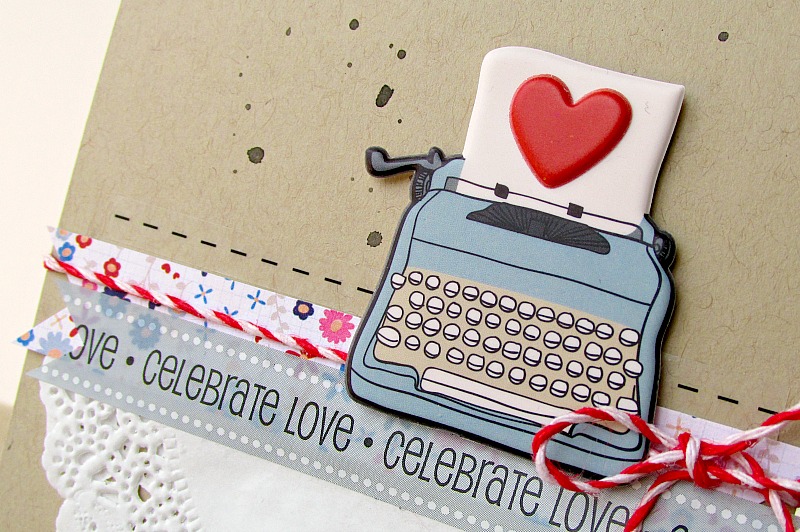
My most recent purchase was the adorable new Pen Pals collection by Pink Paislee.  I had to use this typewriter sticker first thing lol!  It's just too cute!  I paired them with a doily, folded in half, and a strip of patterned paper from the same collection.  I added a red twine bow and a black sticker stitch to finish off the look.

Celebrate Love Card 2

I'm so happy I had time to play along with this fun challenge!  I've always loved SRM Stickers and love to support a good company! :)  The challenge doesn't end until tomorrow so if you've got time, pop over to their new challenge blog for the details!

post signature

Thursday, April 3, 2014

Hello Spring Card

Hello Spring Card 1

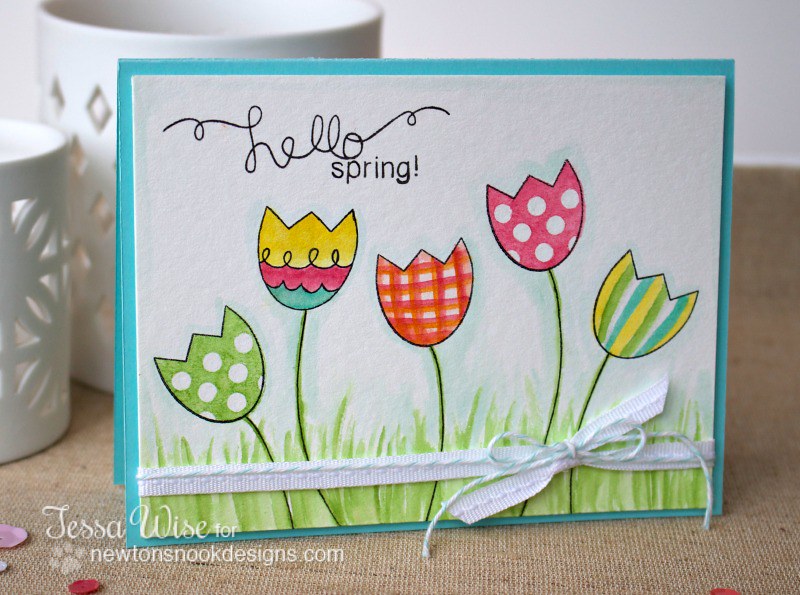
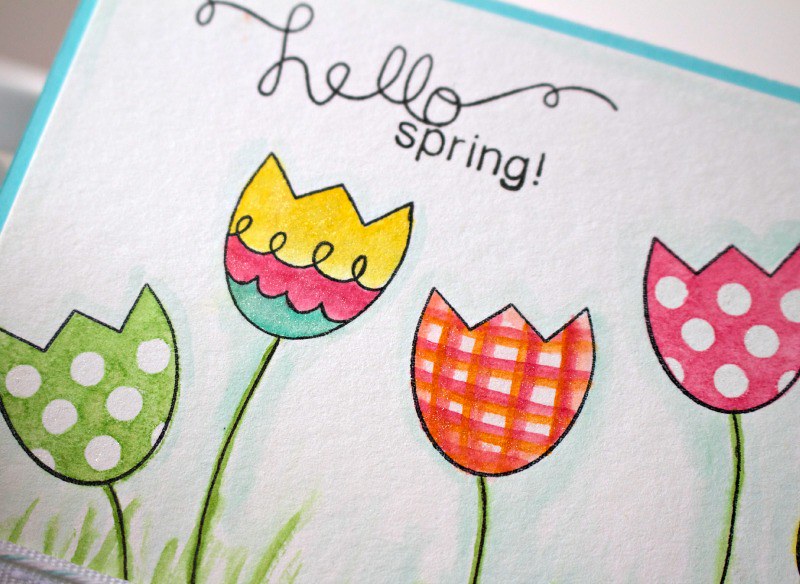
Hello There!  I have a pretty spring card to share with you today using the Easter Scramble set by Newton's Nook Designs.  It's just a small set but boy is it versatile and fun to use!  I went for a watercolored look with it today- stamping the tulips onto watercolor paper and coloring it in with a water brush and my ink pads.  It was fun trying out different patterns on some of the eggs! :)

When I was done coloring them, I added some Wink of Stella glitter to each of them... I know you can't see it... I was trying to wait for a sunny day for pictures but it didn't work out.  I painted in some grass and a little bit of blue around each flower.  Then I added the sentiment- I combined the hello from the Winged Wishes set with the spring from the Easter Scramble set for this look.  Don't they work well together?

Hello Spring Card 2

Check out this set along with all the new spring releases at Newton's Nook Designs!

I don't know about you but in my neck of the woods, spring isn't quite sprung!  I'm ready for it though!  I can't wait to see some of my own tulips come up in the garden :)

Well, hope you have a great day!  Thanks for popping by today!

post signature

Wednesday, April 2, 2014

Clean and Simple Cards for Teresa Collins Designs

I have some cards up on the Teresa Collins Designs blog today and I thought I'd share them here, too!  

Beautiful-Day-Card-2

Today's cards are clean and simple- a design that lets the details shine!  I'm showcasing Teresa's beautiful embossing folders made by Craftwell along with some of my favorite goodies from her current lines.

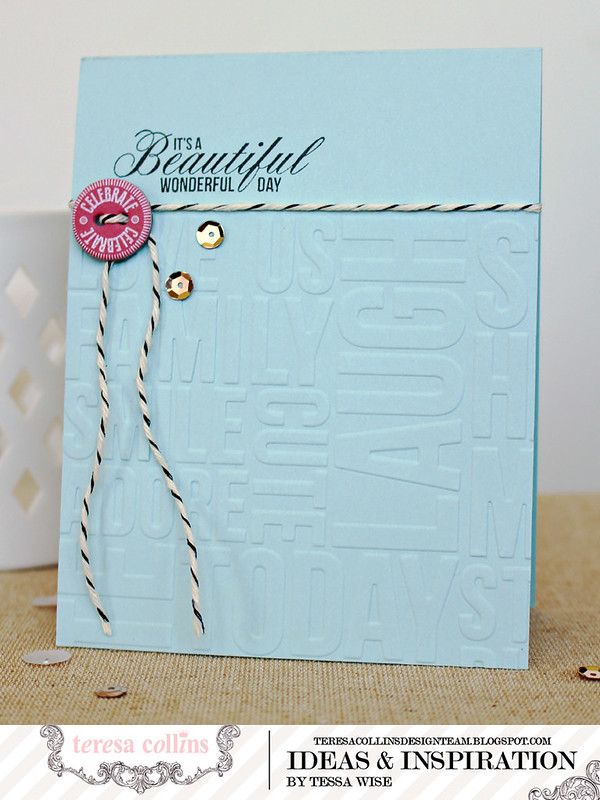
This first blue one was such a simple one to create- it's one layer even!  I placed my open card base into the top of the new Beautiful Words embossing folder so that only a portion of the front would get pressed.  It works perfectly- no creases from the side of the folder at all!!  Once this was done, I stamped the sentiment from the Daily Stories clear stamp set with black ink and tied a bit of twine around the card, just under where I stamped.  I added the Save the Date Chipboard button next, threading one of the twine tails through its holes. To finish off the look, I added a couple sequins- I love how they look against the pretty blue cardstock!

Love-You-Card-2

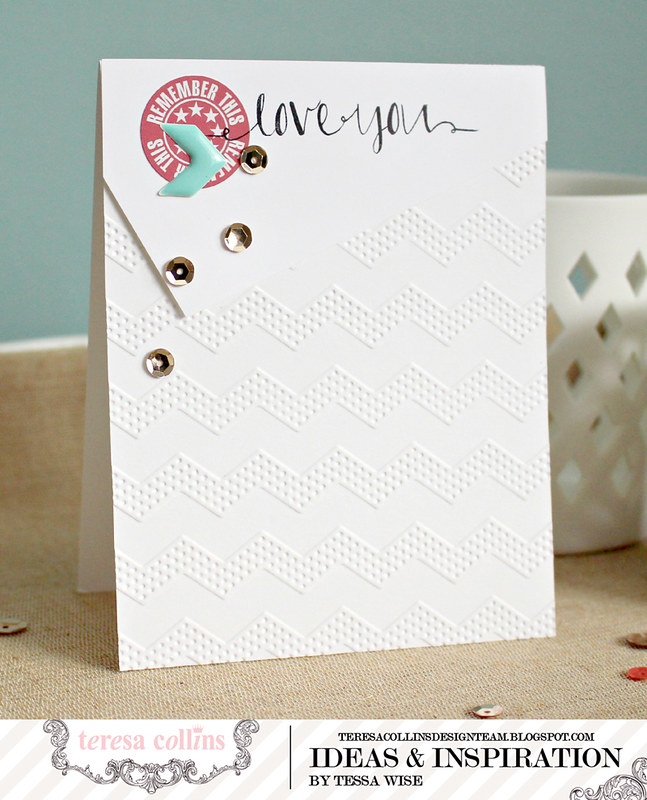
This one uses the Dotted Chevron folder- I ran my card base through the eBosser so that it would only emboss the front half.  The embossing really pops on white cardstock and this folder gives it such a fun texture!  I cut the top portion of the card next, keeping it on a diagonal.  I added the sticker and epoxy shape from the Save the Date collection and then stamped my sentiment.  I added this panel to the card using dimensional foam adhesive dots- thanks again Xyron!! :)  To finish off the look, I added a few sequins trailing down from my embellishment cluster.

Loved-You-Then-Card-2

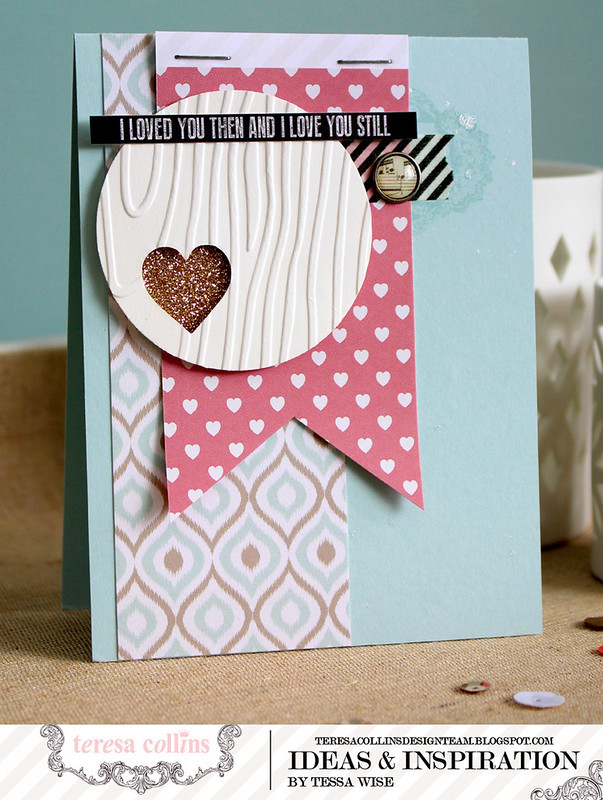
My last card also features a pretty embossed portion- this time I used the Woodgrain Cottage folder on watercolor paper!  With my first pass through the eBosser, I diecut it into a circle and cut out the heart using thin metal dies.  I ran it through the machine a second time inside the embossing folder.  The watercolor paper is a little thicker so the embossing is extra crisp!  I added a bit of glittered cardstock just behind the heart- I love how it peek-a-boos out!  Once this was done, I built my card.  I started with a blue card base and stamped the label from the Save the Date collection clear stamp set with matching blue ink.  I splattered a little pearlescent mist over it next.  Once it was dry, I added my patterned paper- these are from the Save the Date (ikat) and Daily Stories (hearts) 6x6 pads.  I added a bit of decorative tape, a decorative brad, and a sentiment sticker all from the Save the Date collection.  I finished off the look with a couple of staples using my pretty pink Teresa Collins Stapler.

These were so fun to create!  I want to run every card I make through my eBosser right now and emboss them- I just love the texture it adds!

Thanks for joining me today!
post signature
 
site design by designer blogs