Thursday, January 30, 2014

Nuts About You Card

Hello!

How's your week going?  Mine has been one without any schedule- the kids have been home from school because of teacher workdays and snow days all week!  I am just now realizing that it's already Thursday... lol!

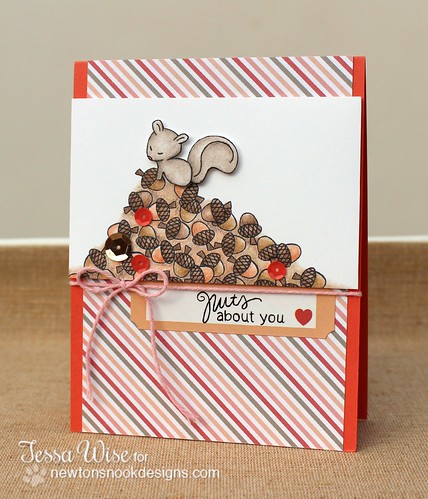
Anyways, I have a fun card to share with you today!  I used the new Sweetheart Tails set by Newton's Nook Designs- I love the cute little squirrel!  Here is my card:

Nuts About You Card 1

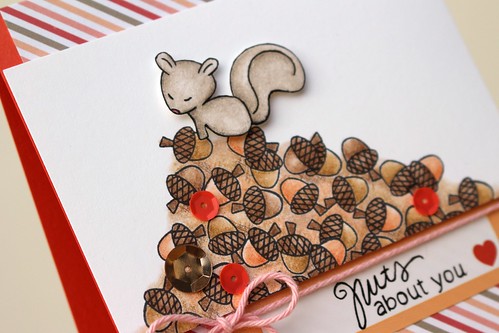
I built up a pile of acorns for him to guard.  I masked off a few and stamped over them for a layered look.  Then I colored the pile with my Prismacolor pencils.  I've paired this cute guy with Teresa Collins Designs You Are My Happy Collection- the patterned paper is from the 6x6 pad.  Just for fun I added some sequins to this little guy's nut pile.

Nuts About You Card 2

I added a bit of pink twine from The Twinery and stamped my sentiment onto a label sticker to finish it off.  I love how each image in this set has a matching sentiment!  They are really cute!

Well, I better get my day started!  The girls have school today and I've got things to get done before the weekend gets here.  :)  

Thanks for popping by today!

-tessa

Friday, January 24, 2014

Miss You A Latte Card

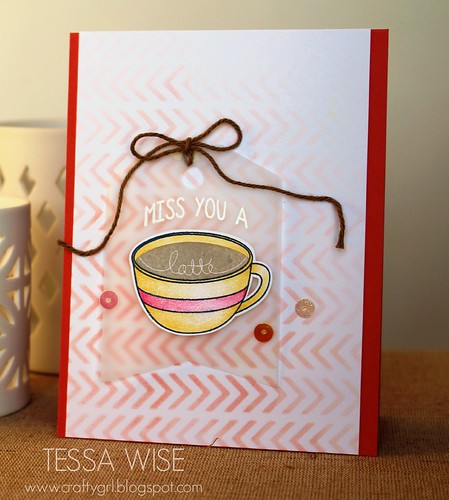
Hello!  I don't usually post more than once a day but I decided this afternoon to take the latest class over at Online Card Classes.  This one is all about stencils!  Since so many companies are coming out with them this season, I thought I could brush up on some fun techniques.  Anyways, I'm posting to share the first card I was inspired to make:

Miss You A Latte Card

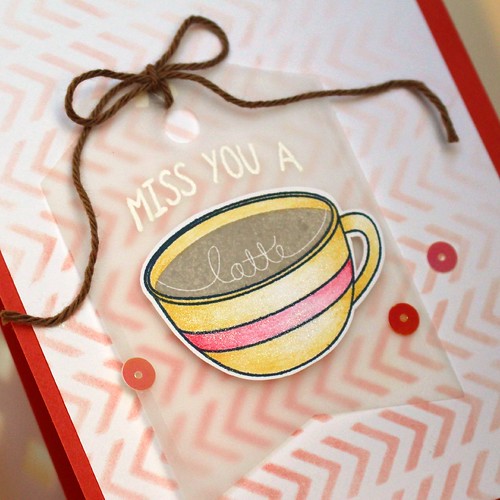
This one was inspired by the first video I watched by Debbie.  I wanted to make something soft and pretty and use the white embossing on vellum like she did.  I love how it turned out and I already know just who I'm sending this one to!  The stamps are by Reverse Confetti and the stencil is by Teresa Collins.  I used my Cameo Coral and Crisp Cantaloupe inks by Stampin' Up! with a blending tool to create the background and my Prismacolor pencils to color my latte cup.

Miss You A Latte Card 2

So far the class has been fun!  The ladies running it and their guest teachers are such a great bunch and they make the happiest videos!  I hope to create a card inspired by each one! :)

Well, hope you have a great weekend!  I may pop on again if I get another card done- hee!

-tessa

Inky Paws Challenge Time!

Good morning!  Today I'm playing along with the latest Inky Paws Challenge hosted by Newton's Nook Designs.  They've switched things up a bit this week and have a fun color challenge for us:


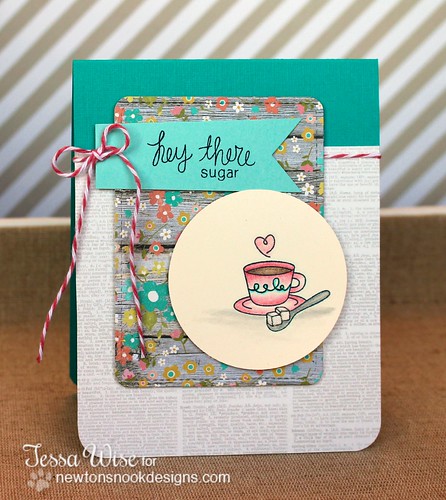
I love the inspiration picture- don't you?  I just want to eat those cookies up! :)  I picked out the new Love a la Carte set to use and searched through my stash for just the right papers.  Here is what I came up with:

Hey There Sugar Card 1

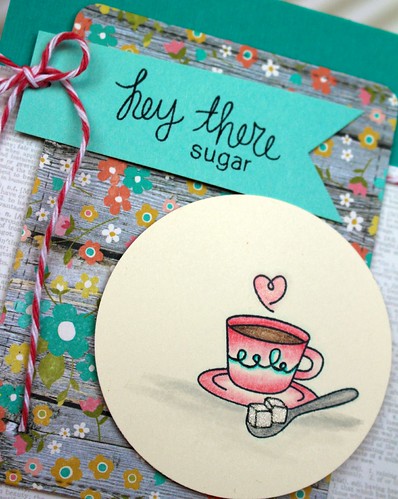
I think the Vintage Bliss collection by Simple Stories goes so well with the colors in the inspirational photo.  The woodgrain is perfect, too!  I stamped the sugar and tea image onto a vanilla colored circle and used my Prismacolor pencils to color it in.  I was going for a slight ombre effect with the pencils on the tea cup- It looks so pretty!  I also added some glitter to my sugar cubes to give it a little sparkle.

Hey There Sugar Card 2

This one was so fun to play along with!   To see what the rest of the design team created and to link up your own creation, pop over to the Newton's Nook Designs Blog. The team did a great job with this challenge!

Well, I hope you enjoy your day!  I am attempting to get back to a normal schedule today- we have been home all week because of the weather.  It's been fun but boy am I feeling antsy to get out and about! 

Thanks for stopping by today!

-tessa

Wednesday, January 22, 2014

A Few Cards...

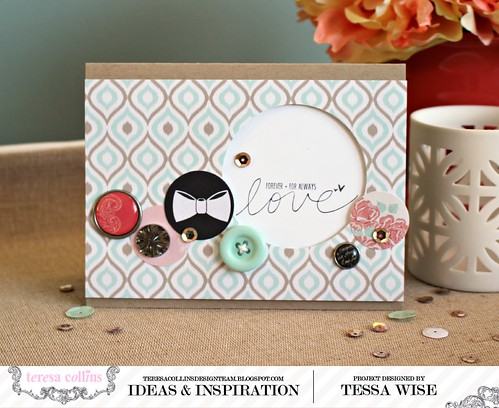
It is my turn to share on the Teresa Collins Designs team blog today!  I had so much fun making the cards, I thought I'd share them here, too!  I chose the Save The Date Collection to work with- mainly using the 6x6 patterned paper pad with lots of the beautiful embellishments!

My first card features one of the stamps from the Save The Date stamp set:

Inset Love Card 1

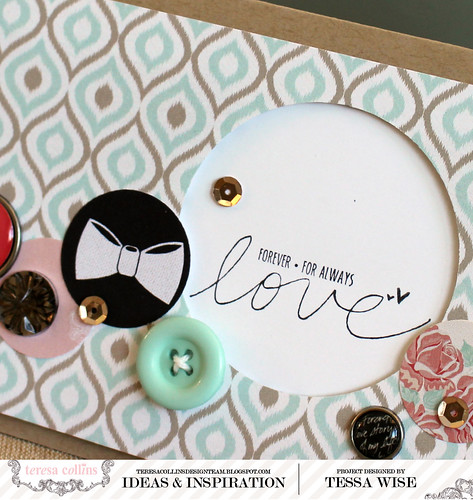
I love the sentiment and wanted it to stand out on my card.  I stamped it onto white cardstock with black ink and adhered it to my brown card base.  Next I cut my patterned paper to fit over the center of the card.  I punched the circle over where the sentiment was and used pop up foam adhesive to adhere it to my card from to frame the sentiment.  It gives the card a little extra dimension!

Inset Love Card 3

I chose some ephemera pieces, stickers, jewels, brads, buttons, and sequins to embellish this card- they are all circles but in many different sizes that work well together.

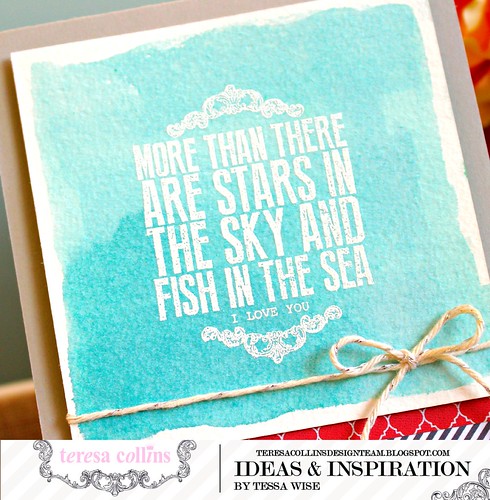
I feature another beautiful stamp from the Save The Date set on my next card:

Stars In The Sky Card 2

I started with a tan card base and added the strips of patterned paper near the bottom.  Next, I took a square of watercolor paper and painted some of my favorite blue stamping ink onto it with an aqua brush.  I dried it with an embossing gun.  Once it was dry, I stamped it with Versamark ink and heat embossed the sentiment with white embossing powder.  The sentiment really shines!  I added a little bit of gold twine to finish off the look.

Stars In The Sky Card 3

It is such a pretty stamp isn't it?  I really love it!

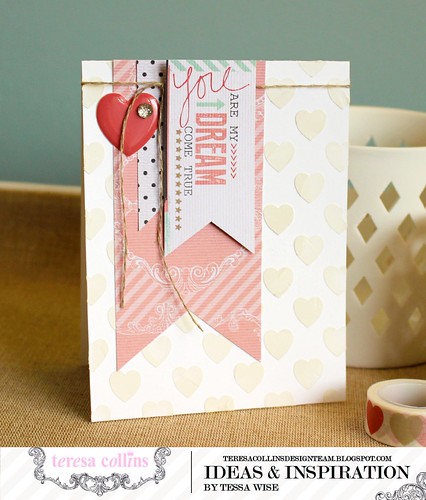
And one more to share today- I used some of the great Basically Essentials Modeling Paste and Stencils on this one:

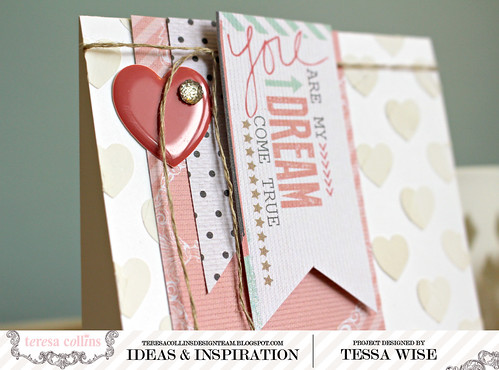
You Are My Dream Card 1 

I started with a crisp white card base and used the hearts stencil with the paste.  I love the texture!  It creates such a pretty pattern on the white!  Once the paste was dry, I added a banner of the pink patterned paper, the smaller polka-dotted paper, and a banner from the ephemera pack.  I tied a bit of linen thread around the top and finished it off with the epoxy heart and jewel.

You Are My Dream Card 3

I am so happy with how these turned out!  I love using different techniques on each card- they were so fun!!  I hope you try out one or all of these techniques for yourself!

Thanks for joining me today!

-tessa


Supplies Used:
Teresa Collins Designs: Save The Date 6x6 Paper Pad,  Save The Date Sequins, Save The Date Gems, Save The Date Decorative BradsSave The Date Clear Stamp Set, Save The Date Decorative Stickers, Save the Date Epoxy Dots, Basically Essentials Modeling Paste, Basically Essential Stencil Pack #3, Basically Essential Pallet Knives
Other: Cardstock by Stampin' Up!; Linen Thread by Stampin' Up!; Blue Ink- Baja Breeze by Stampin' Up!; Black Ink- Versafine Onyx Black by Tsukineko; Gold Twine by The Twinery; White Embossing Powder by Stampin' Up!
Tuesday, January 21, 2014

A Scrapbook Page...

Hello!  Happy Tuesday!  We are enjoying a snow day after a three day weekend- the girls are loving it!  We are hoping to get enough to make snow ice cream for the first time!  I found a recipe on Pinterest and I can't wait to try it out.

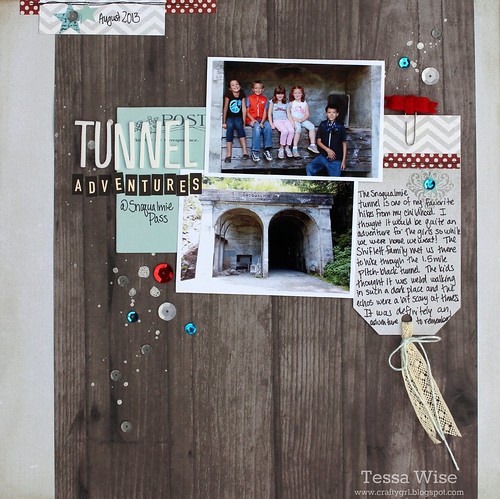
I realized I didn't have time last week to share my layout based on the latest Inspired Blueprints sketch. This is based on sketch #117:

Tunnel Adventures Layout 1

The pictures are from one of our many adventures we took last summer- our hike through the Snoqualmie Tunnel.  I loved it but I knew what I was in for- these kids may have other words for it- scary, long, dark... but I think they still enjoyed it! Hee!

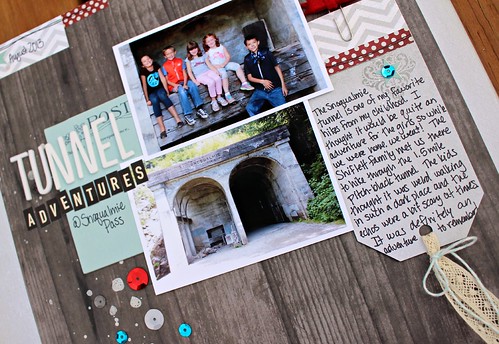
Tunnel Adventures Layout 2

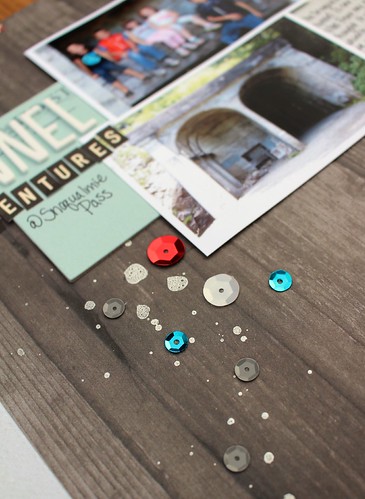
I mixed a few different collections on this one.  The patterned papers are by Fancy Pants, the postcard and sequins are from my Teresa Collins stash, the ribbons are by Stampin' Up!, and the mist and extra embellishments are by Studio Calico.  I love how they ended up looking great together!

Tunnel Adventures Layout 3

This was such a fun sketch to work with!  Pop over to the Inspired Blueprints Blog to check out the original idea along with the design teams excellent layouts.  You can link up there if you create your own sketch for a chance to win, too!!

Thanks for stopping by today!

-tessa

Friday, January 17, 2014

Stamping Basics Class at Scrapdoodles

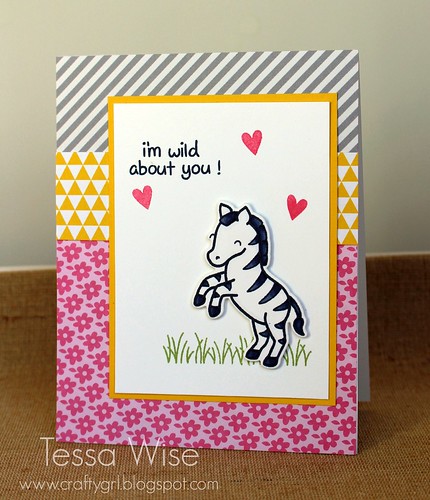
I'll be teaching my Stamping Basics Class at Scrapdoodles in Fredericksburg, VA on February 8th- this is perfect for beginners and those of you have wondered about all the different types of inks, papers, and stamps there are for sale.  I'll be going over everything and we'll even make a card to give you some hands on experience:

Wild Zebra Card 1

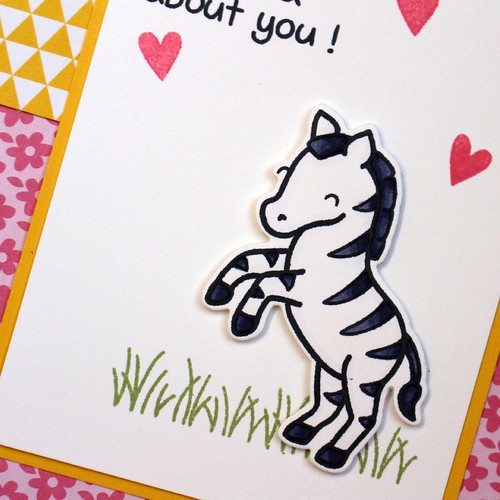
I'll even show you a basic coloring technique:

Wild Zebra Card 2

It's a fun one!  Here is the class information:

Stamping Basics
Saturday, February 8th
1:30pm
$10.00
To Bring: pencil for notetaking, adhesive, scissors, and any questions you may have about stamping


You can call Scrapdoodles at  540-548-3788 or stop by the store to reserve your spot today!

-tessa

Thursday, January 16, 2014

Newton's Nook Designs January Release: Sweetheart Tails

Hello there!  It's day two of Newton's Nook Designs January release!!


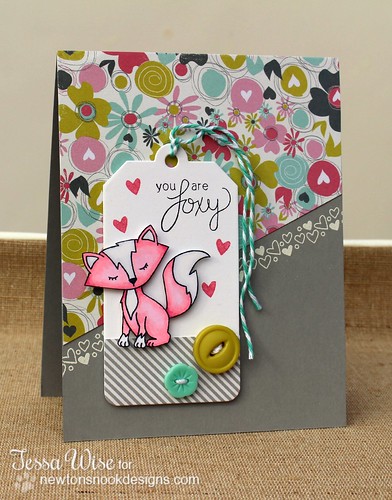
Today we have another adorable set to share with you- Sweetheart Tails!  It is full of the cutest little critters and fun sentiments that go along with each of them.  Here is what I made:

You Are Foxy Card 1

I couldn't help but choose the fox for my card- he is just so cute!!  I colored him pink, just for fun!  I used the border stamp behind my tag- it has been embossed with white powder.  The little pink heart is also from the set along with that fun sentiment!

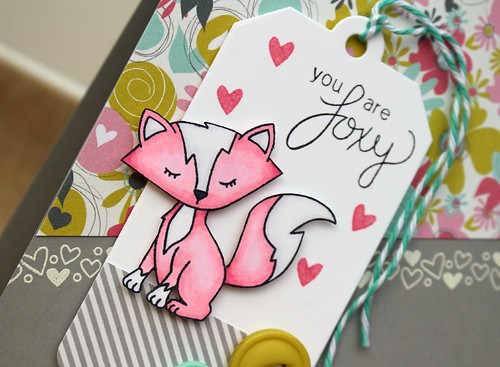
You Are Foxy Card 2

I had so much fun with this set.  I used Copics to color the fox.  I paired it with the pretty Be. Loved. collection by Fancy Pants- I love the colors in this line!


Would you like to win Sweetheart Tails? This set will be given away to Two lucky winners
Here's how to win: 
Comment on the NND blog and Design Team blogs (see list below)! Two winners will be chosen at random from the collective blogs January release posts. Make sure to check out each of their blogs and comment for your chance to win. You will not know which blog has been chosen so the more you comment on the better your chances are of winning! You have until Thursday, January 16th at 9 pm Central Standard Time to comment  -- winners will be announced on the blog post on Friday,January 17th.
Check out all these awesome Design Team Blogs below to enter:


I love this set and I know you will too!  Don't forget to peek through all of the Design Team blogs to see what they made!  This set along with yesterday's Love a la Carte will be on sale at  Newton's Nook Designs tomorrow!

Thanks for stopping by today.  Don't forget to leave a comment for your chance to win!

-tessa

Wednesday, January 15, 2014

Newton's Nook Designs January Release: Love a la Carte

Hello there!  It's release week for Newton's Nook Designs!!


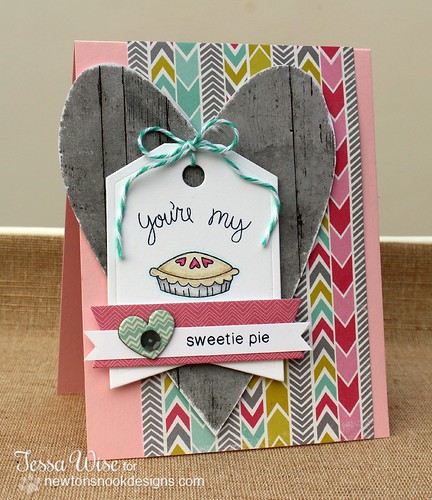
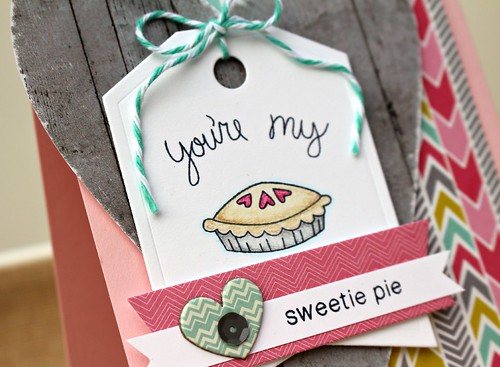
Today we are featuring the adorable new Love a la Carte set.  It's got the cutest little images for Valentine's day- all related to food!  Here is what I made with it:

Sweetie Pie Card 1

I used the pie image, coloring it with my Prismacolor pencils.  It's adorable all on its own but the sentiment makes it even better!  The sentiments are mix and match style so you can create your own- I love that!

Sweetie Pie Card 2

Now I know you'd love to win this set, right?  Newton's Nook Designs will be giving it away!  Here are the details on how to win:


Would you like to win Love Ã¥ la Carte? This set will be given away to Two lucky winners
Here's how to win: 
Comment on the NND blog and Design Team blogs (see list below)! Two winners will be chosen at random from the collective blogs January release posts. Make sure to check out each of their blogs and comment for your chance to win. You will not know which blog has been chosen so the more you comment on the better your chances are of winning! You have until Thursday, January 16th at 9 pm Central Standard Time to comment  -- winners will be announced on the blog post on Friday,January 17th.
Check out all these awesome Design Team Blogs below to enter:


I hope you get a chance to pop through the Design Team blogs to see what they made!  They are such a talented bunch and it's always so fun to see what everyone did with the same set.  You can check them out at the Newton's Nook Designs blog as well!

Thanks for stopping by today!  Don't forget to leave a comment for your chance to win!

-tessa

Monday, January 13, 2014

A Belated Birthday Card

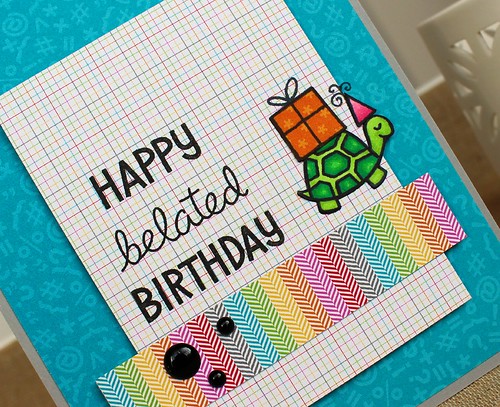
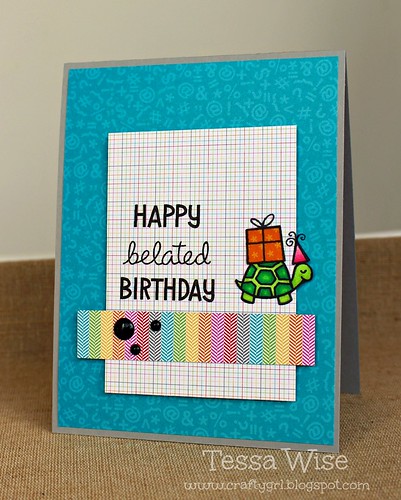
I had a little time today to play along with the most recent Lawnscaping Challenge!  It's all about birthdays this time around and I can always use more birthday cards!  I decided to create a simple card that could be used for boys or girls and came up with this:

Turtle Birthday Card 1

The papers are by Doodlebug Design- the Take Note collection.  I've used the 6x6 pad for this card.  The stamps are from the Year Two set- love that turtle!

Turtle Birthday Card 2

I've colored the turtle with Copic markers.  His present is pieced from patterned paper.  Love how this part of the card turned out!  I wanted to keep it simple and not add twine or anything so I went with the epoxy dots instead, also by Doodlebug.

I'm so glad I got to play along with the challenge!  I need to make about 4 more birthday cards for January so maybe I'll get to add a few more here too! :)

Hope you are enjoying your Monday!

-tessa

Wednesday, January 8, 2014

Hello My Name Is Cards

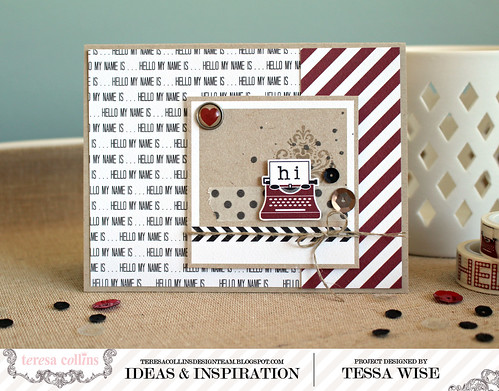
Hi!  I have some cards featuring the new Hello My Name is collection by Teresa Collins Designs to share today!!  I love all the new releases but this was the one I couldn't wait to unwrap.  The bold colors, the words, the typewriters!!  I love it all!  Once I started, I didn't want to stop creating with this collection and today I have three cards to share:

Typewriter Hi Card 2

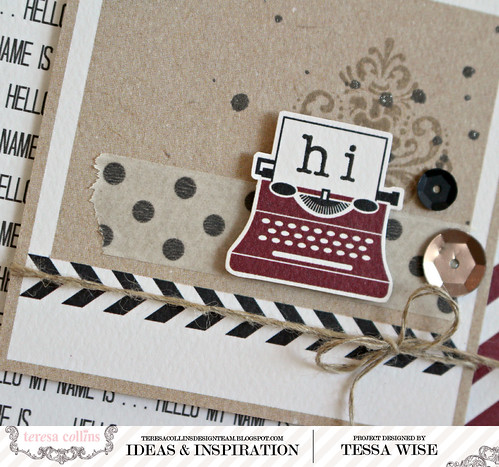
I used the 12x12 Hello My Name Is patterned papers for these cards.   The prints are great for cards- not too big!  I've added the names in parenthesis as I chat about them so you know where I found each piece.   The journaling cards also work well for cards- they make a great focal point.  I used one of the polaroid cards (Polaroids) for this one.  I stamped the damask image first with kraft colored ink and then splattered a bit of gray mist over it.  I added some of the polka-dotted washi tape next.  I cut out the typewriter (Noted) and stamped the 'hi' with some alphabet stamps I found in my stash.  I added it to the polaroid with a foam pop dot.  Lastly, I added some linen thread around it and finished off the look with a few sequins and a decorative brad.

Typewriter Hi Card 4

The typewriters are too cute!  I can't get enough of them and I'm SO glad they decided to include one in the stamp set!!  You'll see that in my next card:

Stamped Hello Card 1

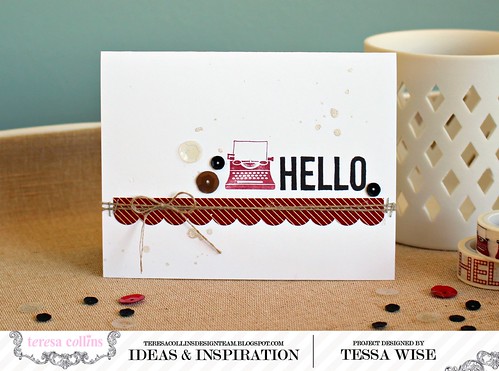
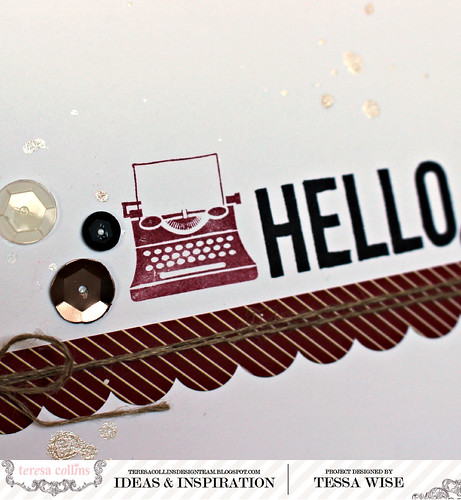
I wanted to create a clean looking card using the stamps so I started with a plain white card base.  I added the scalloped border sticker next.  To stamp the 'hello', I had to cut one of my stamps-  since it's clear, you can fit it back together on an acrylic block or use them separately.  You could just ink up the 'hello' part if you don't want to cut it, too!  Anyways, I stamped 'hello' with black ink next and then stamped the typewriter next to it in a dark red shade.  I decided to add a little sparkle to my simple card and splattered it with some pearly white mist.  I added some sequins to accent my stamping and then added the linen thread.

Stamped Hello Card 3

Isn't that typewriter stamp cute?  If you love typewriters like I do, you'll love this next one too- I used the adorable typewriter decorative tape on it!!

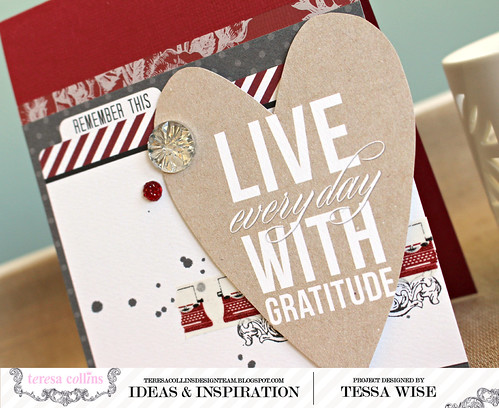
Live With Gratitude Card 3

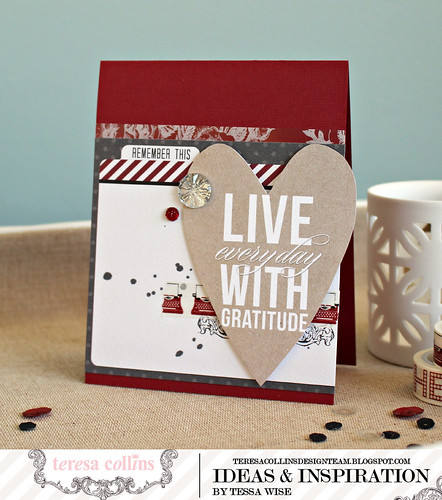
I used another journaling card (Love) as part of my background this time, cutting it to fit my card front.  I tucked a little strip of the floral photo overlay under the top portion.  I added the decorative tape next and then stamped the ornamental shell design in black just underneath.  I splattered a little gray mist next and then added my focal point.  I chose this journaling card (Record) and cut it into a heart shape.  I added it to my card front with foam pop dots and embellished it with two beautiful gems.

Live With Gratitude Card 2

It feels so good to start the year off with a few cards- one of my resolutions is to send at least one card each week of the year.  I'm so glad I could share them with you all!!

Thanks for joining me today!!

-tessa

Supplies Used:
Teresa Collins Designs: Hello My Name Is 12x12 papers,  Hello My Name Is Sequins, Hello My Name Is Gems, Hello My Name Is Decorative BradsHello My Name Is Clear Stamp SetHello My Name Is Photo OverlaysHello My Name Is Decorative Stickers

Other: Cardstock by Bazzill; Linen Thread by Stampin' Up!; Mists by Studio Calico; Red Ink- Cherry Cobbler by Stampin' Up!; Black Ink- Versafine Onyx Black by Tsukineko; Kraft Ink- Crumb Cake by Stampin' Up!
Wednesday, January 1, 2014

Some Happy Thank You Cards And Some Good News!

Hi and Happy New Year!!

Today I'm sharing some great news!  I'm staying on with Teresa Collins Designs for another term!  It has been a dream to work on such a fun design team and I love it!  I'm glad they'll have me for another bit! :)


The new team is full of such inspiring designers!  Be sure to pop over to the Teresa Collins Designs team blog to meet them all!

Along with my good news, I thought I'd share a some cards, too!  Here are a few cards I made with the You Are My Happy collection:

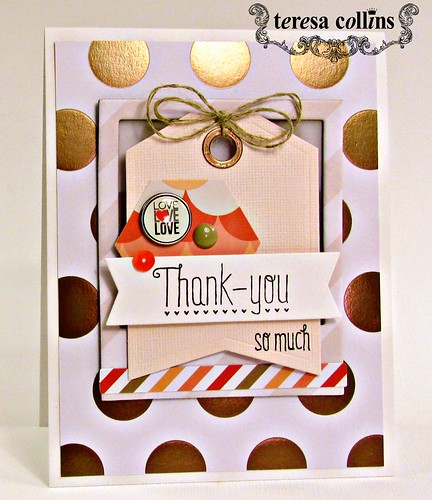
TC Tag Thank You Card

I love the metallics in this line- the rose gold is so pretty and shines a lot in real life! 

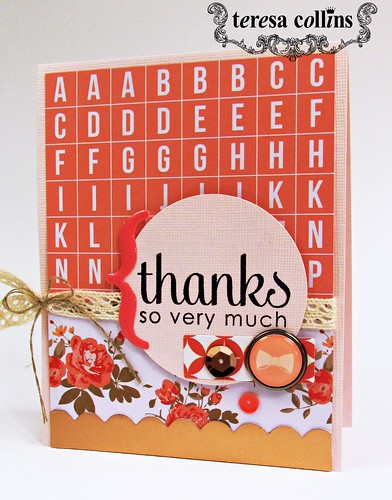
TC Circle Thanks Card 2

I've put some of my favorite embellishments together with this one- it's the little bits and pieces that bring it together!

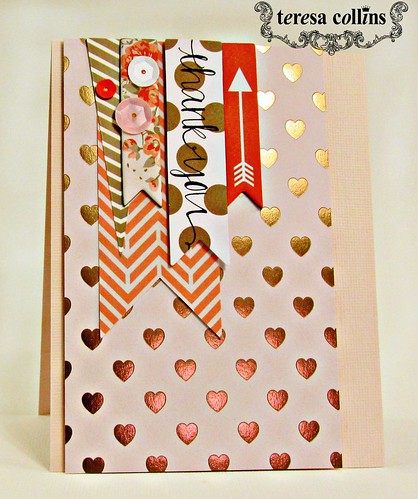
TC Banner Thank You Card


Chipboard banners, stickers and some patterned paper makes putting together this one quick!

This line is one of my favorites- the patterns are perfect and the metallics make it so special!  It's so fun to work with!

Well, I think I'm in for a pretty fun year!  I can't wait to see what exciting things 2014 has to offer both in my hobby and in my life overall!  It's so nice to start fresh each January, isn't it?  :)

Thanks for stopping by today!

-tessa
 
site design by designer blogs