Friday, May 23, 2014

Inky Paws Challenge- Wood, Cork, or Metal!

Hello!  Today I'm sharing a card I made for the new Inky Paws Challenge over at Newton's Nook Designs!  #10 is all about adding a texture- wood, cork, or metal.  I chose to feature wood on mine!  Here is what I made:


I pulled out the adorable Sweetheart Tails set for this card and stamped that cute raccoon on a piece of watercolor paper.  I used a mix of watercolors and residual inks to paint him in.  I was going for a fresh, clean look so I kept it simple, coloring some grass underneath him along with a little yellow flower.  I did a faint blue wash around him as well but it turned out too light to see!

I used my Woodgrain Cottage embossing folder by Teresa Collins for Craftwell to texturize my Soft Sky card front.  I added a strip of patterned paper from the Hey Kid collection by Fancy Pants and then added my stamped panel over the top of it.  To finish it off, I stamped my sentiment onto a wooden speech bubble by Stampin' Up!

The placement for everything was inspired by Retro Sketches #113.


I'm so glad I got to play along with this week's challenge!  It's always fun to add texture, right? :)

Well, I hope you all have a great weekend!  I'm ready for it- lol!  I'm even happier that we have an extra day!  Hopefully I can fit in some fun crafty time!
post signature

Thursday, May 22, 2014

A Happy Birthday Card

Hi there!  I spent the day visiting the National Museum of American History with some fun first graders today and boy am I pooped!  They have so much energy at that age and none of them wanted to stop and look at anything for too long before moving on.  We had a great time though!  While the girls are finishing up their homework, I thought I'd pop on and share a card I made for the most recent SRM Challenge- Birthdays!   I have a few birthdays on my list anyways so last night I pulled out my goodies and made this:


From SRM, you'll see I have some pink twine, the banner stickers from the Valentines We've Got Your Border Sheet and the polka-dotted label from the Bright Blanks Labels by the Dozen sheet.  I mixed my SRM goodies with stamps by Simon Says Stamp and a teal star from the Molly paper pieces by Bella Blvd.  I love how this mix of goodies worked so well together!

If you have time to make a card, the current Birthdays challenge is live through June 4th!  Pop over to the SRM Challenge blog to take a peek!

It's almost Friday!!  I am so looking forward to this weekend- we have nothing planned but I have a few things I'm thinking about doing!  I would love to take a little day trip somewhere!  lol!  Gotta run it by hubby and see what he thinks but wouldn't the beach be nice?? :)

I'm so glad I had a little time to play along this month! :)  Thanks for stopping by to take a peek!


post signature

Monday, May 19, 2014

You're Fan-tastic!

Hi!  Hope your week is off to a good start!  My Monday ended up not being what I expected- I have a sick girl home from school!  Instead of running errands and getting the weekly grocery shopping done, we are watching a Zoey picked movie marathon and sticking close to the bathroom :(  At least she's picking some fun movies to watch!

I thought I'd pop on and share a card I made recently using the adorable Fan-tastic stamp set by Technique Tuesday.  I just had to have this set- the sentiments are the best!!  Here is what I made:


I combined the adorable stamps with cardstock from Bazzill, Patterned paper from Lawn Fawn, and vinyl and twine from SRM Stickers.  Did I say vinyl??  Yes!  I stamped the fan on the stainless steel looking vinyl with Staz On ink and fussy cut around it!  It gives it a great shiny metallic look- I love it!

The sequins are also from Lawn Fawn.  They have the cutest sequin packs!  I added a sprinkling of them so it would look like they were blowing in the wind!


Well, hope you have a great day!  Thanks for stopping by and checking out my card!
post signature

Friday, May 16, 2014

Embossed and Embellished Cards for Teresa Collins Designs

Hello and happy Friday!!  It's a rainy day here but that's ok- I'm busy prepping for a fun class I have tomorrow! :)  It's a good excuse to watch a movie and stamp too!

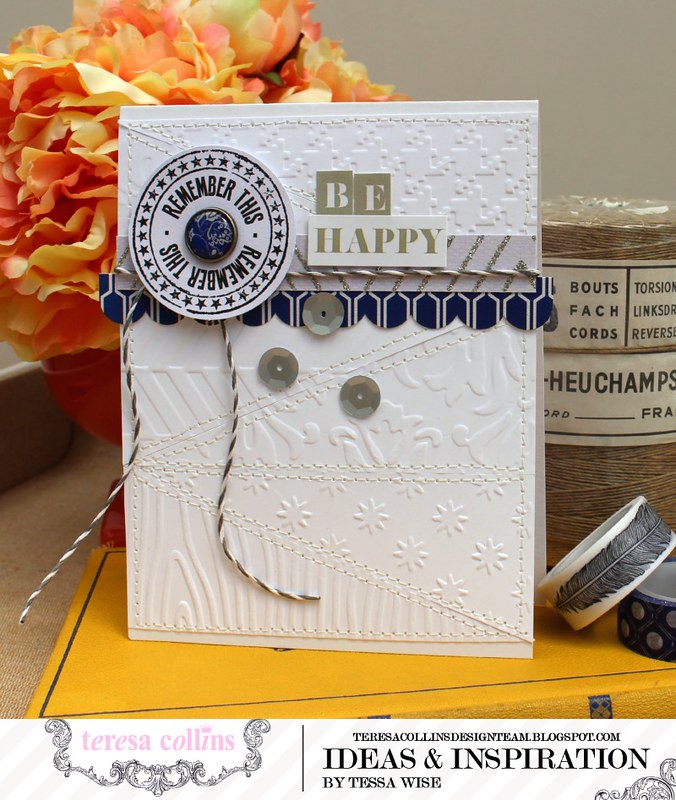
Today I want to share a couple of cards I created for the Teresa Collins Designs team blog this week.  I just love how they turned out!  Really, whenever I use my eBosser and TC embossing folders I love how my projects turned out! lol!  For these cards, I paired the embossing with the new Urban Market collection that is available now.

This first one was inspired by a triangle quilt I saw online.  I loved the stitched pattern and and although it was done in colorful fabrics, I couldn't wait to try an all white, embossed version of it!

TERESA COLLINS DESIGNS Be Happy Card 1

I started by cutting 6 4.25 x 1.75" strips of white cardstock.  I ran each of them through the eBosser using a different embossing folder.  Once they were embossed, I cut them in half diagonally to make 12 triangles.  

Starting at the bottom of the card, I adhered the triangles to a white card base using my Teresa Collins Mega Runner by Xyron.  I was careful to keep the adhesive in the centers of each triangle so I could easily sew over each piece.  Once they were all in place, I sewed around each triangle with my sewing machine to create the quilted look.  

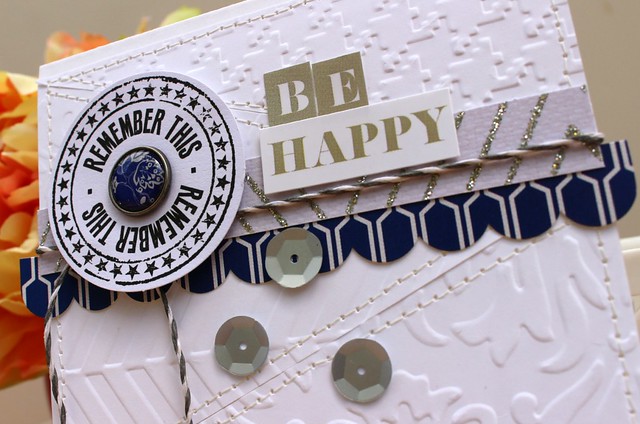
Once my embossed card base was finished, I added the embellishment cluster to the top of my card.  I started with the blue tiled scallop sticker strip from the Urban Market sticker sheet.  I added a strip of the glittered Zig patterned paper next and then tied a length of twine around the card.  I found the Remember This die cut circle in the Urban Market ephemera pack and embellished it with a blue floral brad from the Urban Market designer brads.  I added it to the card using dimensional foam adhesive.  I created the sentiment from the Urban Market Alpha and Label sticker sheet.  To finish off the look, I sprinkled a few sequins below the cluster.

TERESA COLLINS DESIGNS Be Happy Card 2

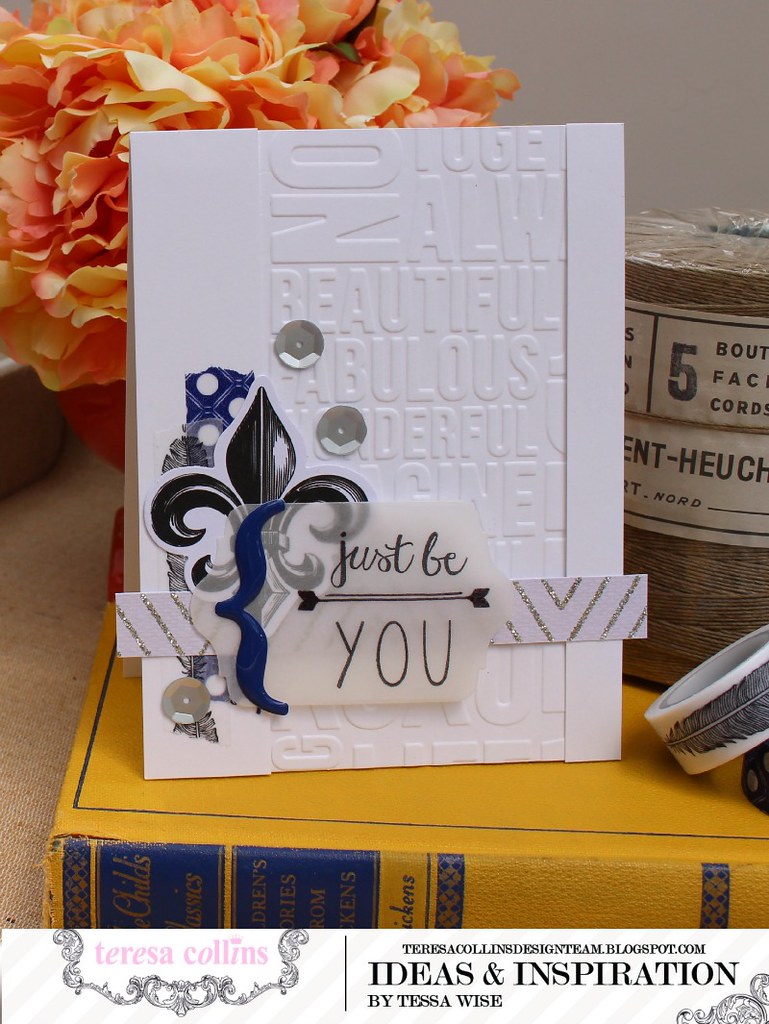
I have had this second idea in my head for awhile.  I love the look of an embossed strip down the front of a card but wanted to modernize it a bit.  This turned out exactly like I wanted it to:

TERESA COLLINS DESIGNS Just Be You Card 1

I cut a 5.5 x 2.75" panel of white cardstock and embossed it using the Beautiful Words embossing folder.  Cutting out the panel before you emboss means you can place the panel over the words you want to capture when you emboss.  I loved the list of beautiful, fabulous,  and wonderful so I placed the panel over this area of the folder and ran it through my eBosser.

I created a card base out of white cardstock and adhered the embossed panel onto the card 1/2" from the right side.  I then cut two strips of cardstock- one 5.5 x 1/2" and the other 5.5 x 1".  I used thin foam adhesive to add them to either side of the embossed panel.

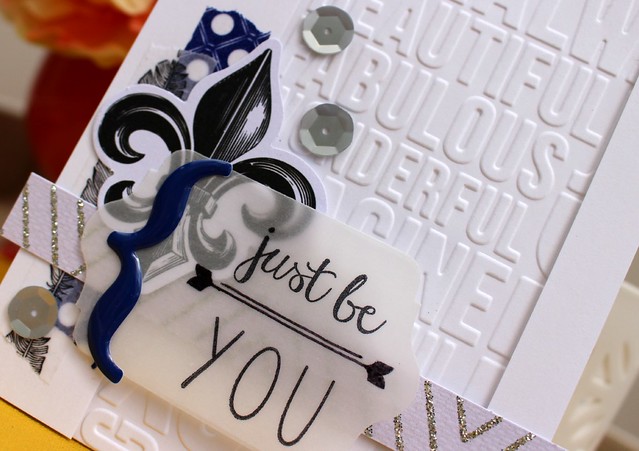
Next, I embellished the card with some of my favorite new products from the Urban Market collection.  I used the feather and blue tile decorative tapes on the left side first.  Then I added a strip of the glittery Zig patterned paper across the bottom.  I added the fleur de lis from the Urban Market ephemera pack and pulled out my stamps.  This sentiment is from the All About You set by Reverse Confetti.  I stamped it onto a diecut vellum label with Staz On ink.  I added the epoxy bracket sticker to the left so that I could hide my adhesive underneath it.  I used the Teresa Collins Clear Hold Adhesive by Xyron to adhere the vellum to the card.  Lastly, I added just a few pretty silver sequins to finish off the clustered look.

TERESA COLLINS DESIGNS Just Be You Card 2

The embossing you get with the Teresa Collins eBosser folders by Craftwell is so crisp and perfect!  It automatically gives anything you create a sense of elegance.  It is always so fun making cards with them!

Thank you for stopping by my blog today!
post signature

Thursday, May 15, 2014

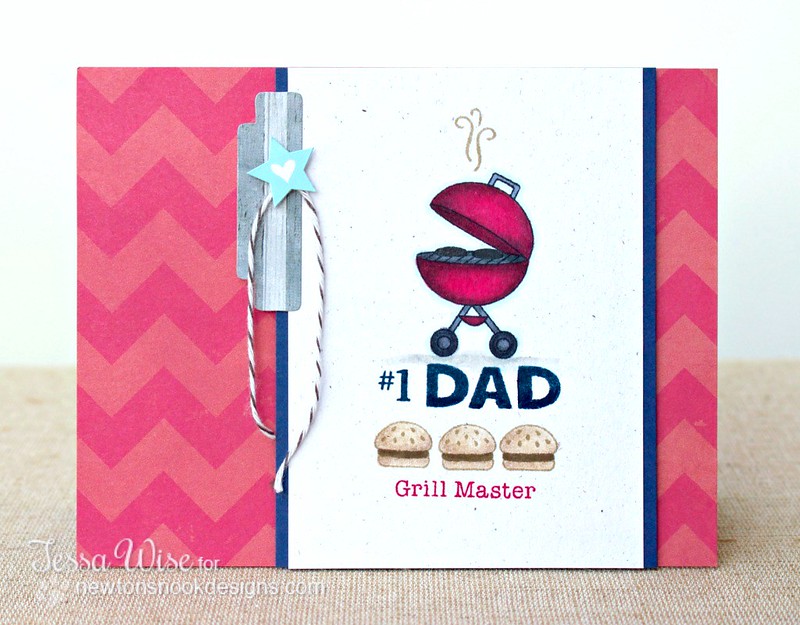
Newton's Nook Designs May Release- Winston's BBQ


Today is the second day of this month's Newton's Nook Designs release!  We are sharing cards made with the oh so fun Winston's BBQ set:

NEWTONS NOOK DESIGNS Grill Master Card

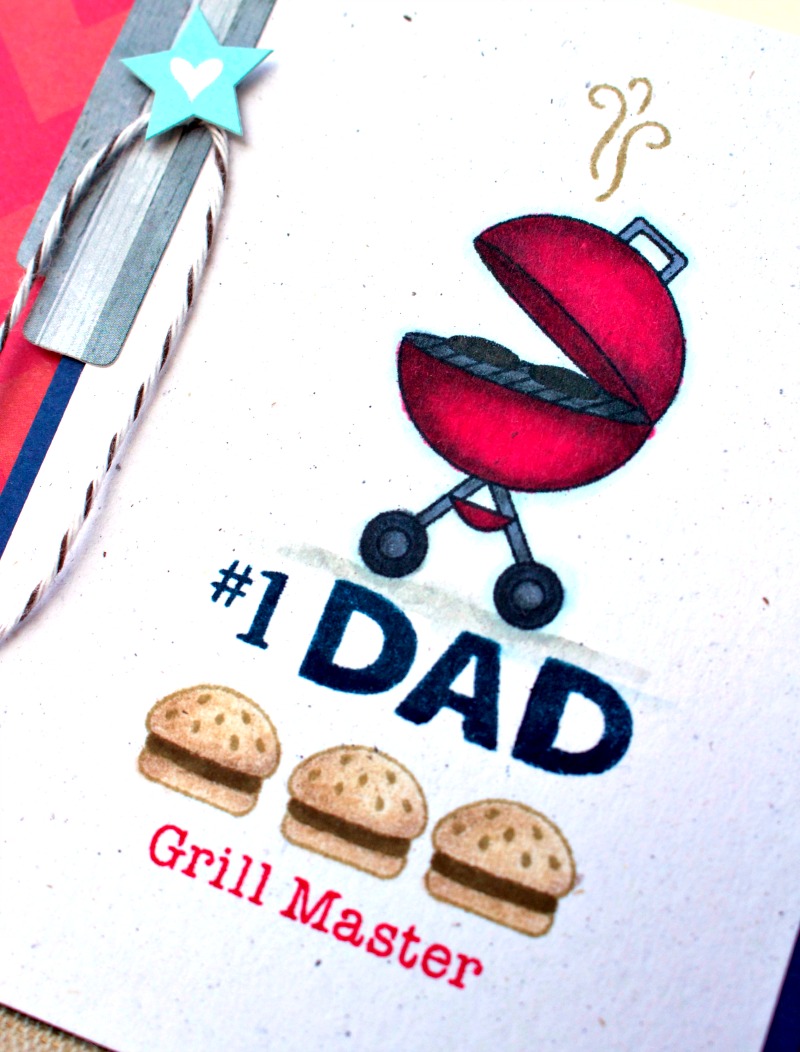
I started out with a red cardbase and covered it with the red chevron patterned paper from Simple Stories Daily Grind 6x6 pad.  Then I cut a panel of Naturals White cardstock and stamped my images on to it.  I started with the BBQ, stamping it in Memento ink and coloring it with Copics and Prismacolor pencils.  I stamped the blue Dad sentiment next and then the burgers and vapor in Crumb Cake ink.  I colored the burgers with my Stampin' Up! markers and Prismacolor pencils.  Lastly, I added the second sentiment to the bottom in red.  I think it's so fun!!

I embellished it lightly with a bit of twine and some Fancy Pants stickers.

NEWTONS NOOK DESIGNS Grill Master Card 2

Would you like to win “Winston's BBQ”?
This set will be given away to Two lucky winners

Here's how to win: 
Comment on the NND blog and Design Team and Guest blogs (see list below)! Two winners will be chosen at random from the collective blogs release posts. Make sure to check out each of their blogs and comment for your chance to win. You will not know which blog has been chosen so the more you comment on the better your chances are of winning! You have until Thursday, May 15th at 9pm Central Daylight Time to comment  -- winners will be announced on the blog post on Friday, May 16th
Check out all these awesome Design Team and Guest Blogs below to enter:
Kelly Santi  - Guest Designer
Tricia Traxler - Guest Designer
post signature

Wednesday, May 14, 2014

Newton's Nook Designs May Release- Around the House

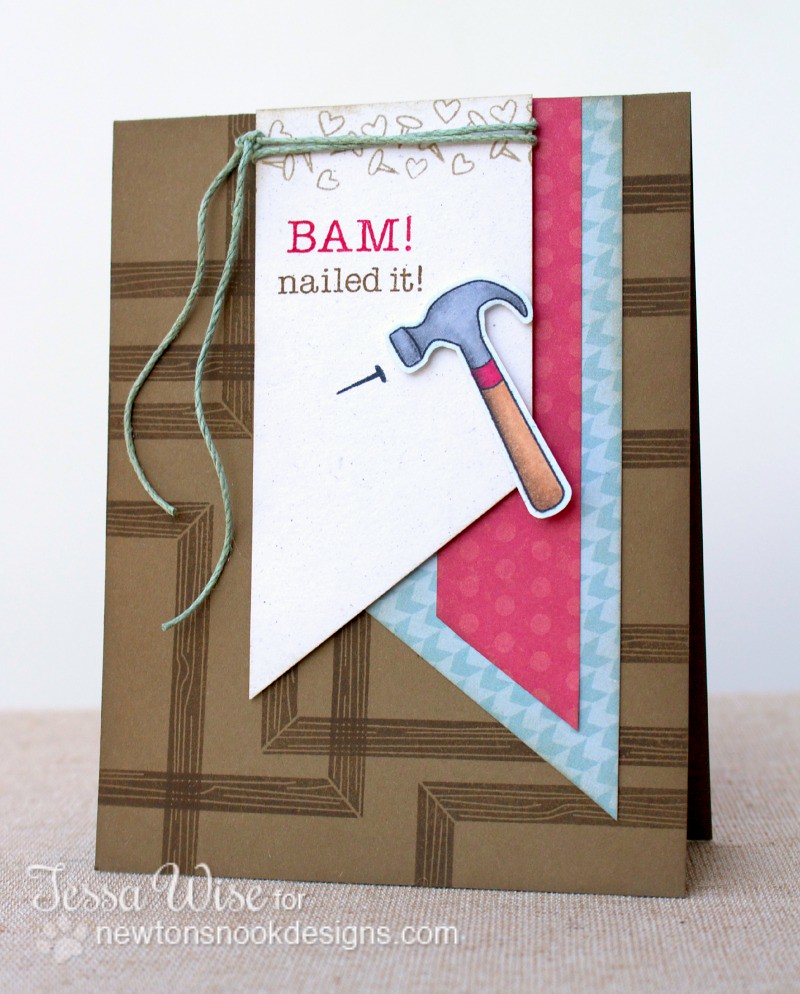
It's time for a fun new release from Newton's Nook Designs!  Today we are featuring the new Around the House set- it's full of cute images and fun sentiments with a diy feel!  I love it!  Here is my card:

NEWTONS NOOK DESIGNS Bam! Card

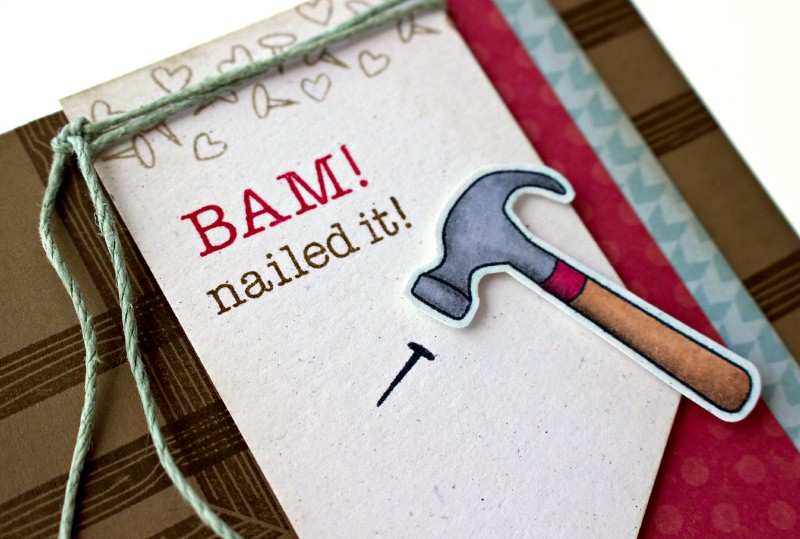
I started by creating a card base of Soft Suede cardstock.  I created the background by stamping the woodgrain frame over and over again with Soft Suede ink.  Next, I layered some patterned paper banners from the Simple Stories Daily Grind collection.  I cut a banner flag out of Naturals White cardstock and stamped the tacks along the top edge with Crumb Cake ink.  Then I stamped my sentiment using Real Red for the Bam! and Soft Suede for the nailed it! :)  I stamped the hammer onto Naturals White cardstock and colored it using my Copics and Prismacolor pencils.  I fussy cut around it and added it to my card using dimensional foam adhesive.
This sentiment made me giggle!  It reminded me of those pinterest fails. :) I'm pretty sure my diy mom friends would get a kick out of it too!

NEWTONS NOOK DESIGNS Bam! Card 2

Would you like to win “Around the House”?
This set will be given away to Two lucky winners

Here's how to win: 
Comment on the NND blog and Design Team and Guest blogs (see list below)! Two winners will be chosen at random from the collective blogs release posts. Make sure to check out each of their blogs and comment for your chance to win. You will not know which blog has been chosen so the more you comment on the better your chances are of winning! You have until Thursday, May 15th at 9pm Central Daylight Time to comment  -- winners will be announced on the blog post on Friday, May 16th
Check out all these awesome Design Team & Guest Blogs below to enter:
Kelly Santi  - Guest Designer
Tricia Traxler - Guest Designer

I hope you get a chance to pop through the design team's blogs- they are so talented and always create such cute cards!  Thanks for stopping by here today, too! :)
post signature

Thursday, May 1, 2014

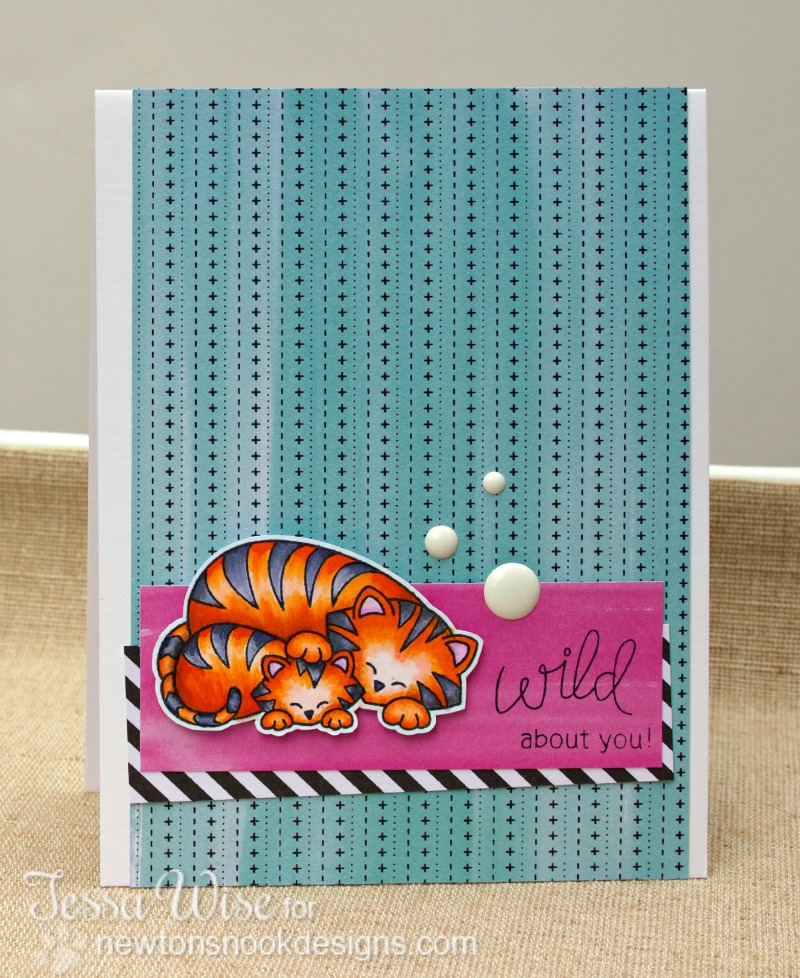
Wild About You Card

NEWTONS NOOK Wild About You Card

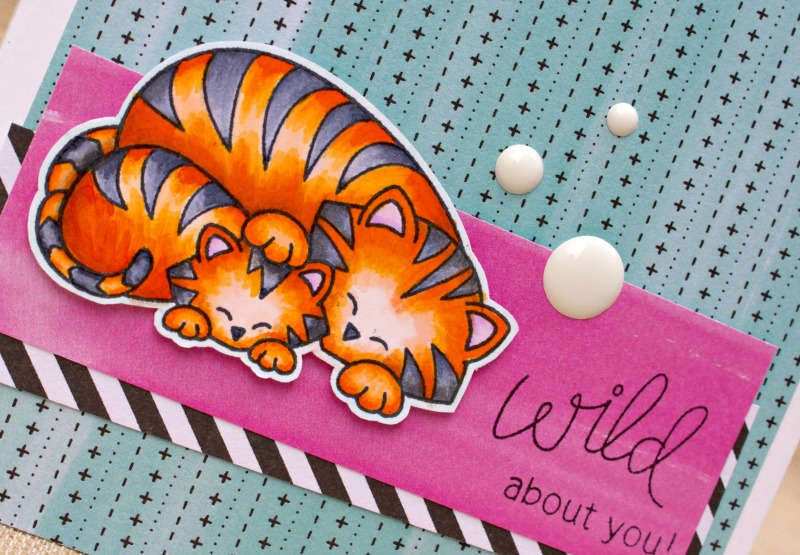
Hi!  I love the adorable Wild Child set by Newton's Nook Designs!  The baby animals are just so fun to color!    Today's card features the tigers from that set.  I colored them with Copics first and then added a little shading with my Prismacolor pencils.  They turned out so bright and cheerful!
I picked out papers from the Plus One collection 6x6 pad by Amy Tangerine to use with the tigers.  Since the colors were bright, I picked a white card base so they would really pop.

NEWTONS NOOK Wild About You Card 2

Once my card was put together, I stamped my sentiment onto the bright pink watercolor printed paper and added the tigers next to it.  I added just a few white epoxy dots for embellishment to finish off the look.

I hope these little guys brought a smile to your face today!  
post signature
 
site design by designer blogs